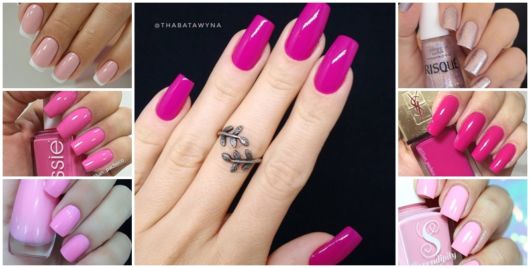
Photos and Models of Decorated Easter Nails
The Easter bunny is a great suggestion to create something different in your hands during the holiday season. It's a playful and fun theme, so the more colors you use the better.
It is also worth using a lot of creativity to innovate. After all, it's a festive and super childish season. And there will be no shortage of ideas to complement the look of the hands.
Only child
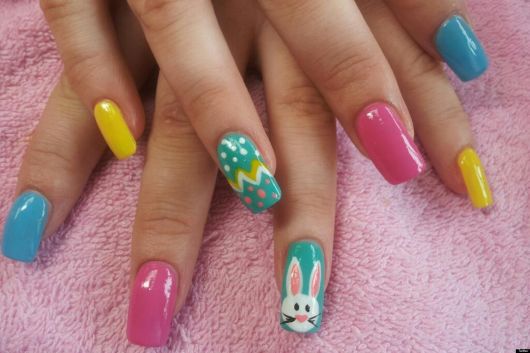
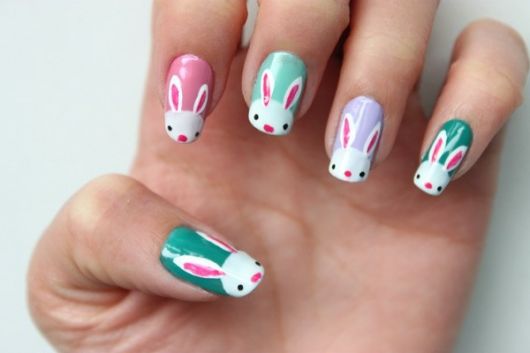
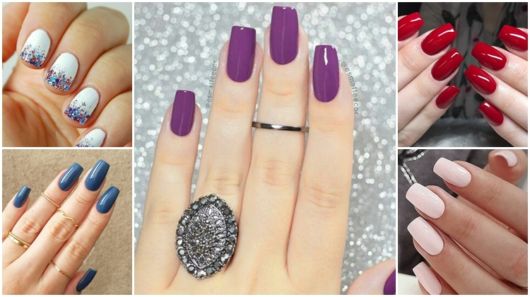
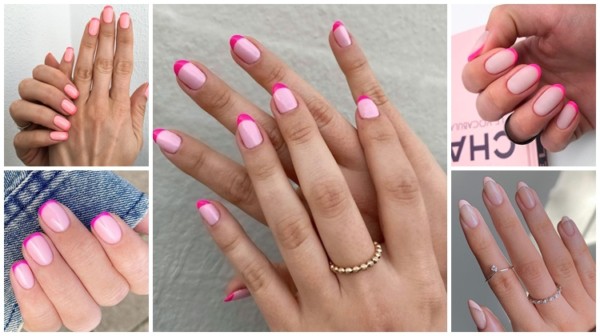
Light decorations like decorated easter nails allow the deformed use of colors. Nothing matching, it's worth sticking to the style of a finger decorated in each color. It is the only daughter nail, which always works at any age.
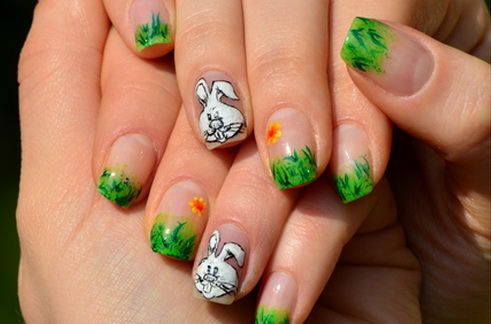
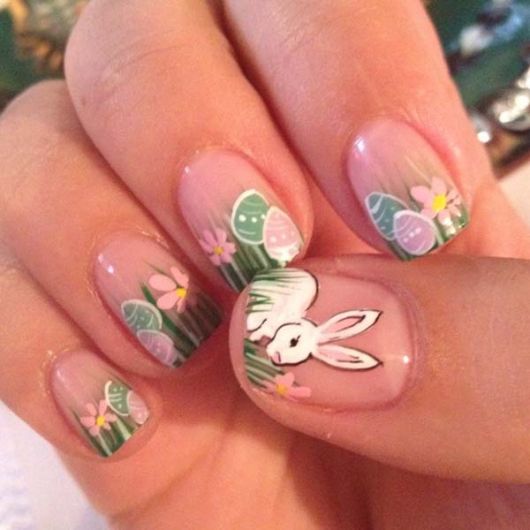
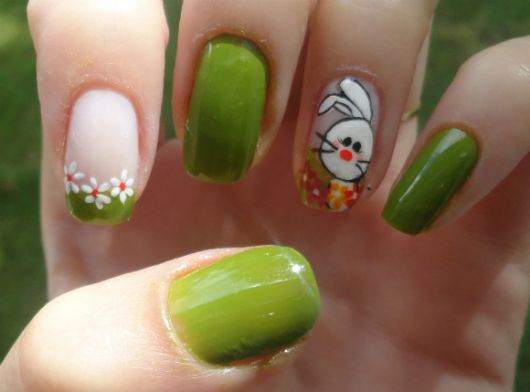
If it seems too childish to draw a rabbit on each finger, try adding similar designs on the side. Why not a bunny and landscape and other easter elements on the other nails? It can be quite creative.

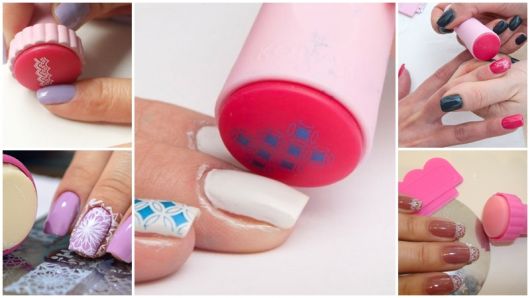
Simple designs can be made using just a toothpick smeared with white nail polish. You create beautiful and different art!
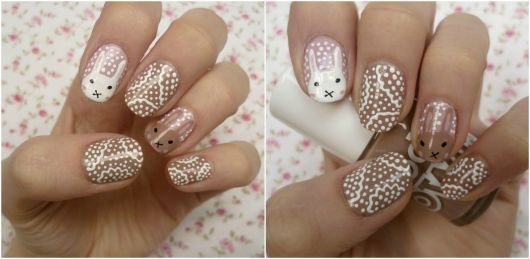
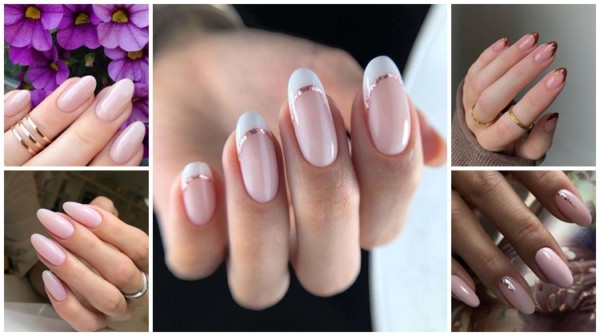
Those who enjoy more delicate work may love the idea of nails with watercolor designs. They are made using fabric paint on the nails, with a very small brush and delicate work.
This type of art requires a little more time but with really interesting results. It is painted with fabric paint with a delicate and extremely fine brush for a better richness of details. Then just protect with a base coat and your art is ready.
 With bunny drawings
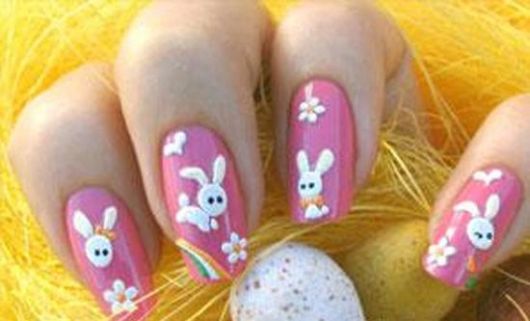
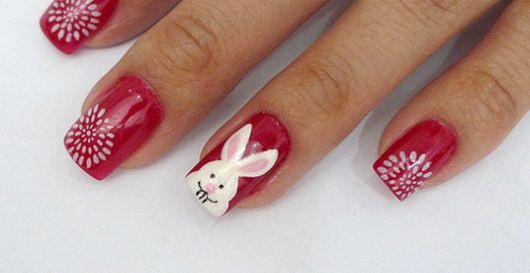
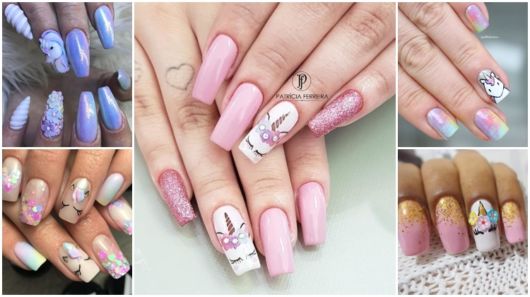
Is there a stronger and cuter symbol than Easter bunnies? As it is a reference to the chocolate holiday, it cannot fail to appear in the hands as a painting suggestion, right?
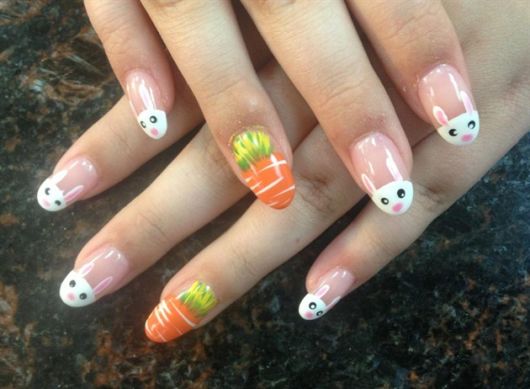
Create decorated easter nails with rabbits is one of the simplest arts. A simple white ball with ears with a colored center and some dots for eyes and nose and the cute animal is done. You can use a toothpick or just the tip of the nail polish brush.
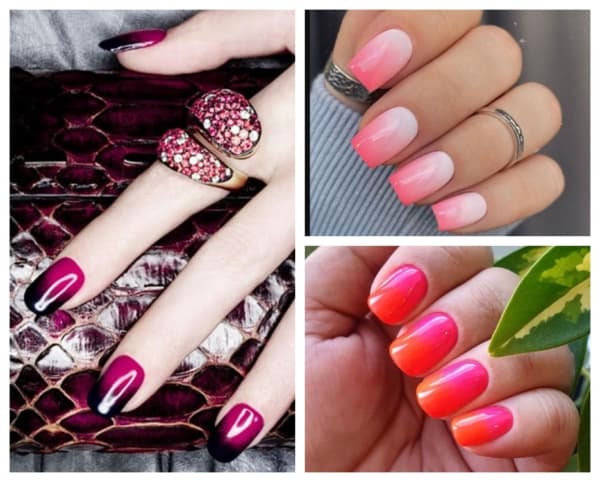
With such a delicate figure white nail polish is a must, giving preference to soft and pastel shades to complement it. The smooth tones fall better and leave the enamelling more delicate.

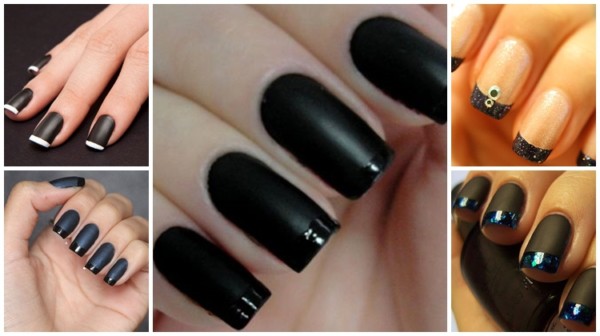
Tip: avoid a thick layer of metallic enamel. It comes out faster than the others, so the thinner the better.
To protect the nail decoration longer you can:
- Use glitter nail polish in a thin layer;
- Give preference to the rounded cut model to avoid points on the side during growth;
- Create a crease in the nail at the tip, removing the excess to prevent it from starting to fall off sooner;
- Avoid abrasive cleaning products;
- Avoid messing with water while your nails are varnished – gloves always help when cleaning the house!
How to Make Decorated Nails for Easter Step by Step
Don't know how to do it? How about trying it? Follow our step by step and knock it out!
Easter nails decorated only daughter
Single nail is one of the simplest to invest in because it requires decoration on just one finger. Choose a base color to complement the others and paint them all the same, removing excess from the tips to make the polish last longer.
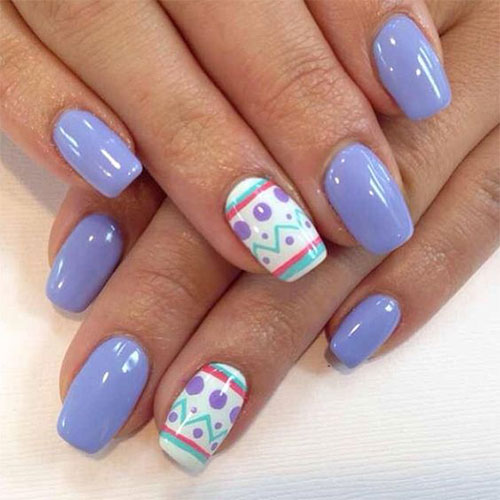
The traditional Easter egg-style print can be created with nail polish even with the tip of the product's applicator brush. Another technique used is the toothpick or barbecue, with delicate designs and made with rich details. You are free to create at will!
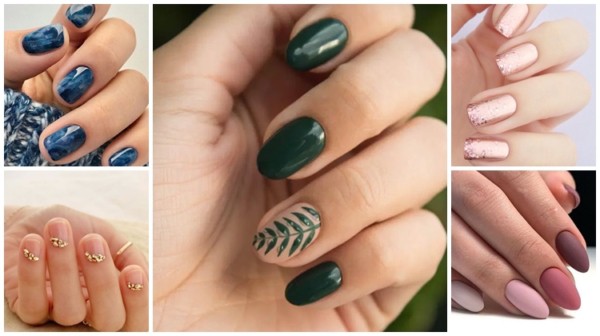
Easter nails decorated with designs
There are many ways to create nail designs by yourself at home. One of them is using the nail polish itself. It gets rougher, so it may take a number of tries to get it right.
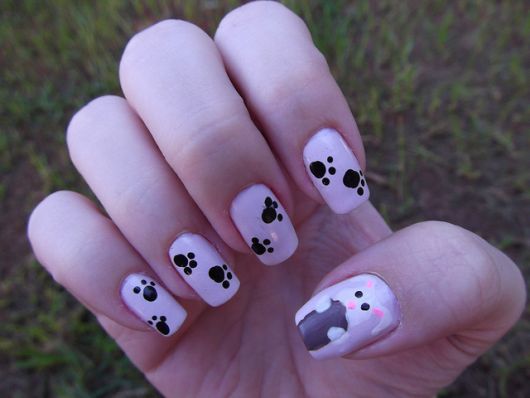
Another cool tip is to opt for simpler designs to start with. Polka dot nails match the Easter theme and are very easy to do. Just lightly touch the tip of the brush with nail polish on the already base nail and get a little bit of the dye. The lighter the touch, the smaller the poá.
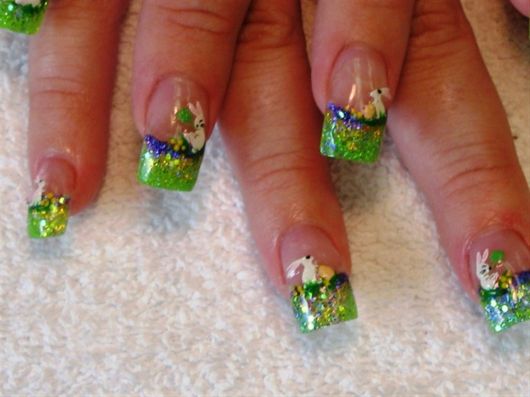
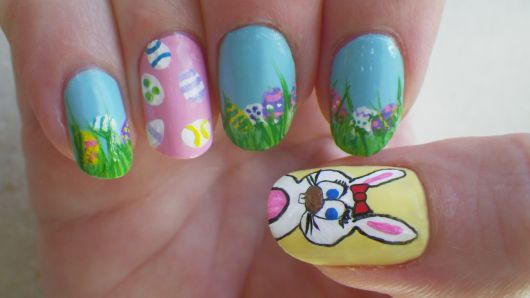
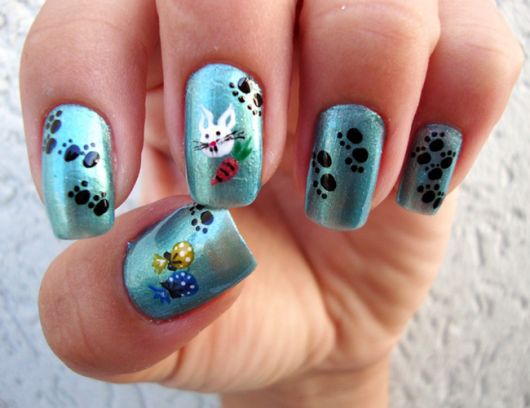
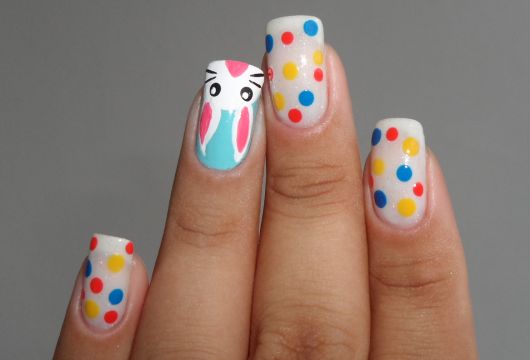
Easter nails decorated with rabbit and polka dots
After removing excess cuticles and sanding as desired, just apply a layer of base or clear nail polish to each nail to protect.
The next step of your decorated easter nails is to choose one of the fingers to be the same on both hands. The most selected is the ring, but it can be any other.
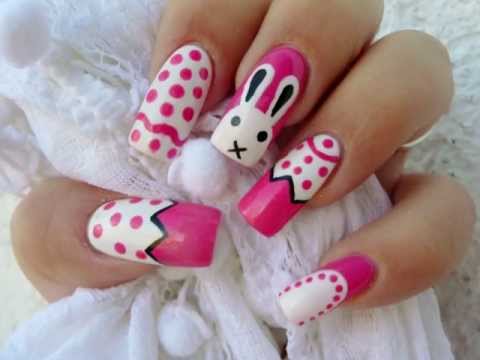
Paint a base color on the nails, the stronger one will be the predominant one. In the others, make colored balls using only the tip of the nail polish brush.
The bunny is best drawn from the bottom up, French nails style. The little head speaks at the tip, put an eye and a pink nose and then just pull the little ears as in the photo below. Simple and practical!
More ideas on how to create your own decorated easter nails? Leave it in the comments. The important thing is to innovate. With a variety of colorful nail polishes the possibilities are endless!
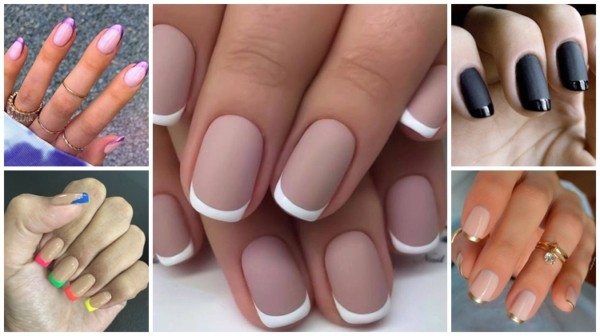
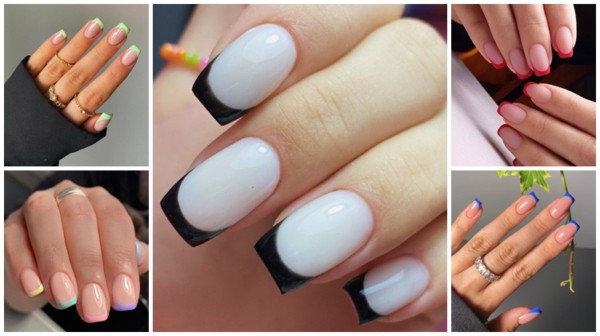
![+60 Different French Girls【[2022]】ᐅ Wonderful Nails!](/images/posts/4efc2f642e8dfec83ccd5b3e81dc3361-0.jpg)