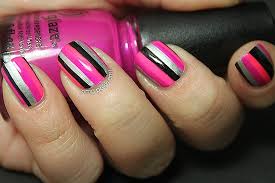
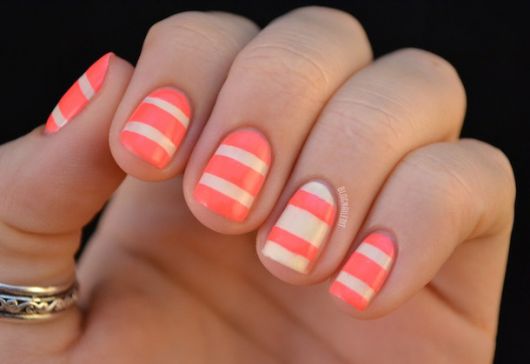
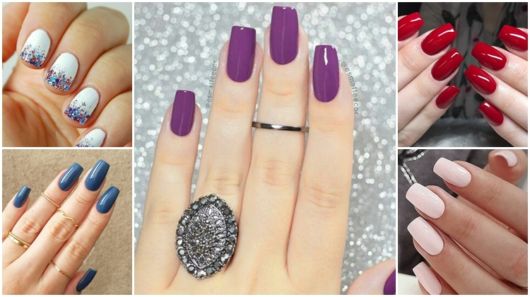
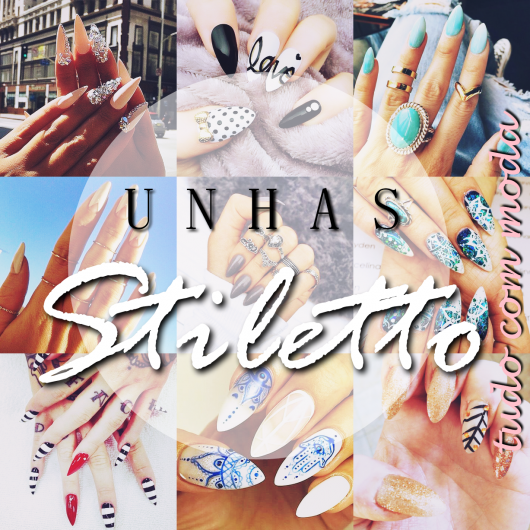
Models and Photos of Decorated Striped Nails
With stripes there is nothing to be afraid of. They are indeed timeless, super simple to make and quick. They are also part of the neutral list, matching any type of occasion depending on the choice of colors. If you've already found your motivation to invest in print, we have some good tips to follow.
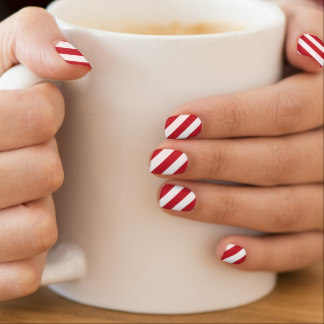
with tape
There are several ways to draw ribbons on your hands and there are always good tricks to make the job even more practical. One suggestion is to use ribbons, the same one that was already in fashion a few months ago to give a new function to your forgotten curling iron at home.
Nail tapes are sold in stores that specialize in manicure and hair products. They are cheap and super easy to use: just cut them with scissors to the desired length and place them on top of the nail polish that is still drying.
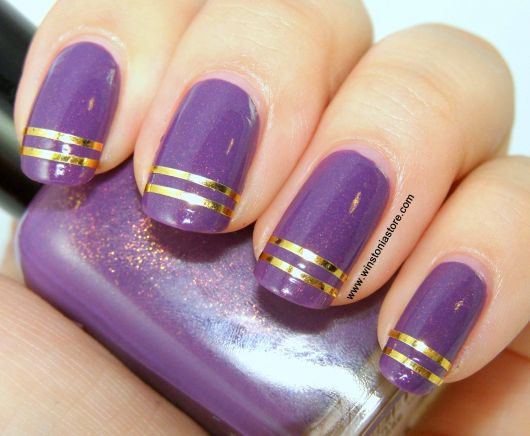
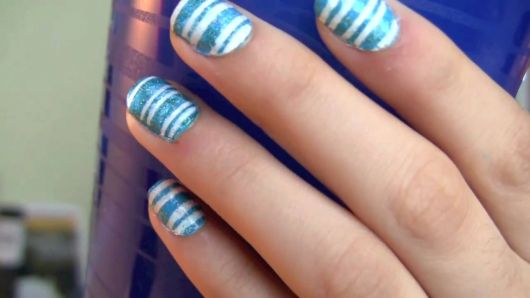
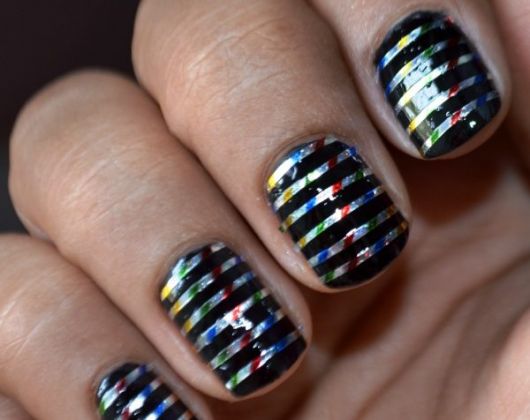
For those who love to innovate, we suggest investing in decorated striped nails of different materials. Fixing well no problem. Does not damage the nail and creates a unique enamel. There are those who use everything from fabrics such as knits to lace and common stationery ribbons.
Gold ribbons on nails are easy to find and are always in style! They match any nail polish and you can think of incredible decorations.
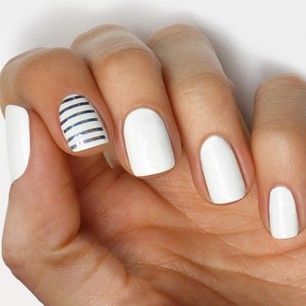
An only child is still a trend. For the more discreet, it's a way to get into fashion without attracting too much attention. Just choose one of the fingers and invest in different colors on them. It's precious to be the same finger on both hands.
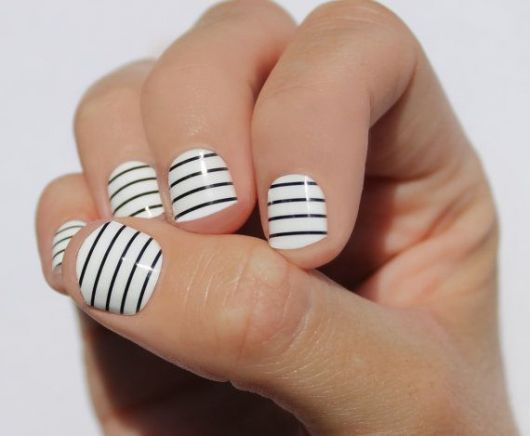
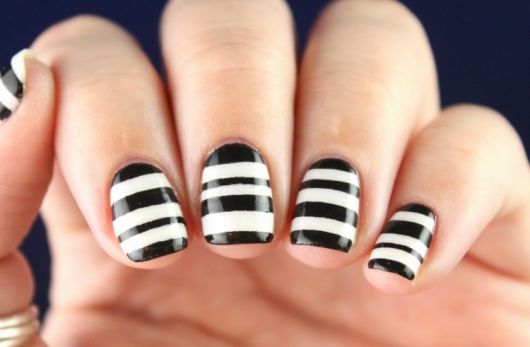
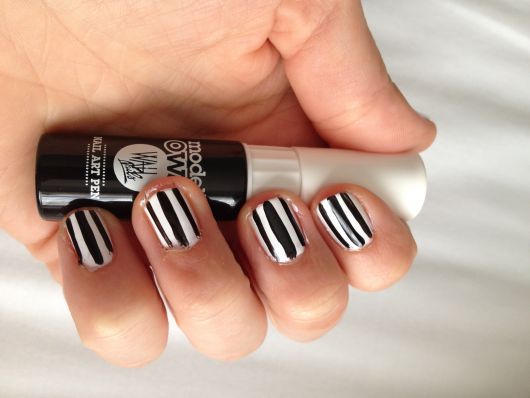
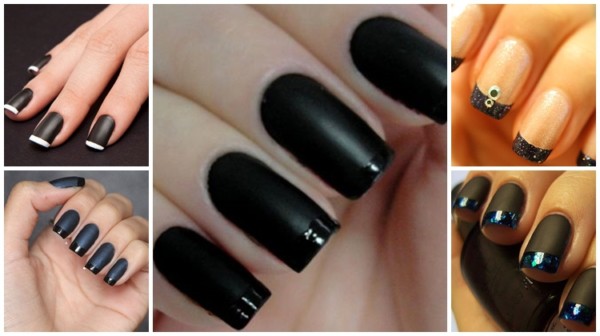
Black and white
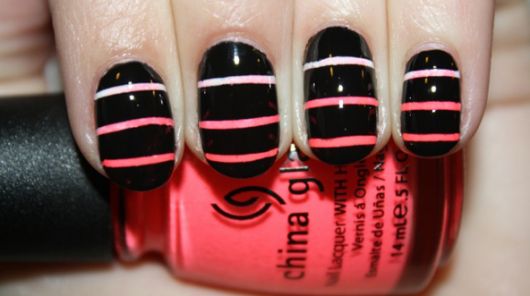
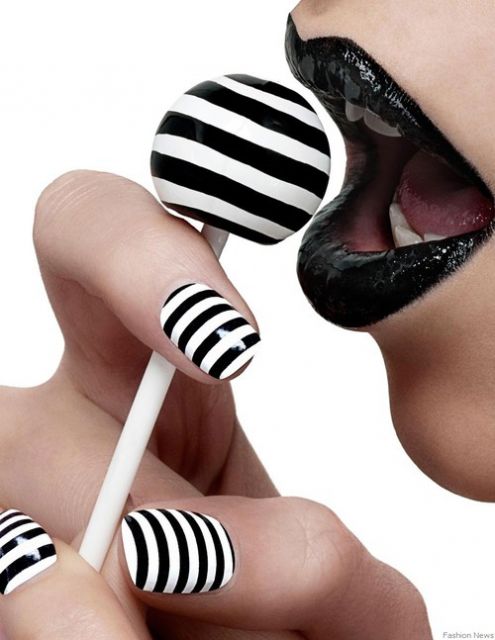
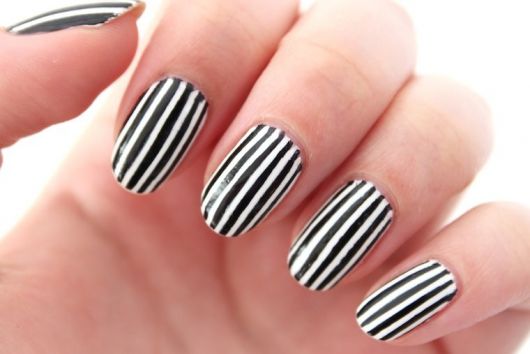
Classic and always welcome, the black and white nail is a great suggestion for those who don't want to waste time thinking about whether it matches their outfit. It goes for both day and night and any type of event. It is used a lot in decorated striped nails for work by being neutral.
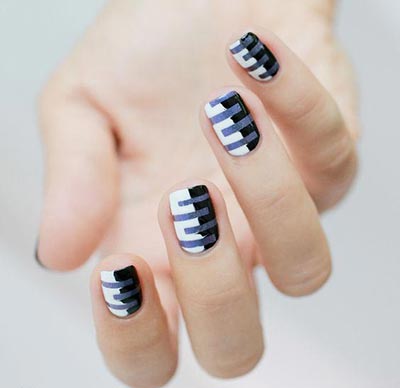
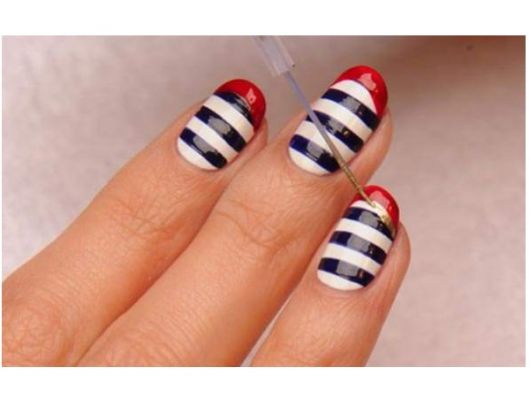
Stripe designs can be horizontal or vertical. What's the difference? Vertical stripes elongate, adding length. The horizontal ones make the nails shorter.
Round or square shape? Enamelling experts indicate the square nail as less likely to break because they don't leave fragile tips.
Another cool tip for strong nails is to avoid sanding too much, especially on the top of the nail. Was there a little dirt or is the nail stained? Use a polish, cheap and does not remove the nail protection.
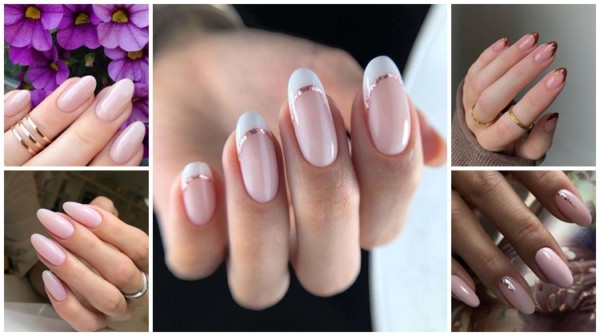
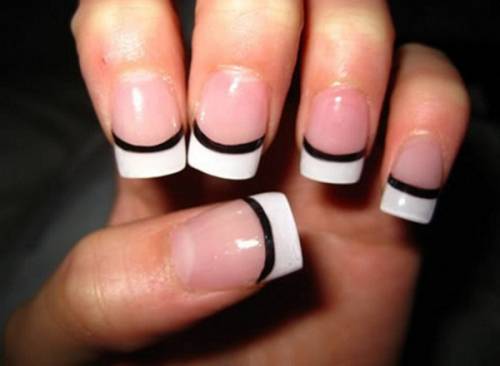
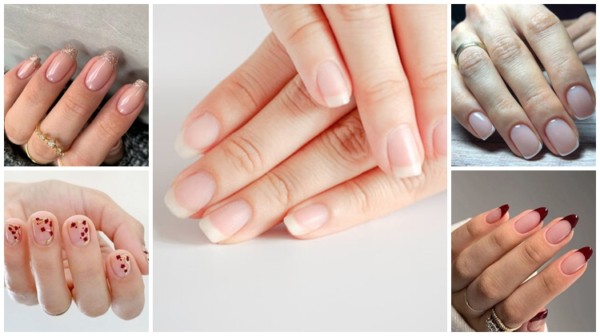
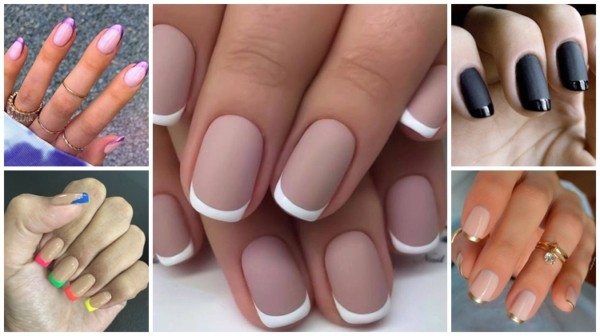
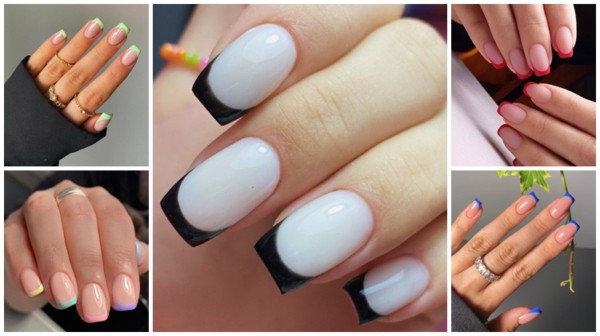
Francesinha
We could do a huge post on the evolution and variety of French nails and it would almost be a book. From its traditional format, with the white dot, the decoration has received several makeovers and always adapts to the latest.
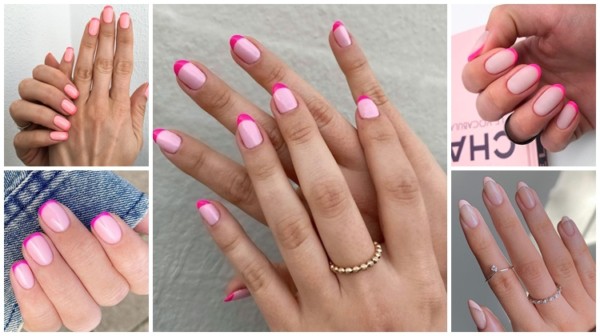
The stripes can come on the tip or along the model. Any user choice is welcome, just pay attention to the color selection. For a discreet everyday enamelling, prefer pastel tones and always combine complementary colors.
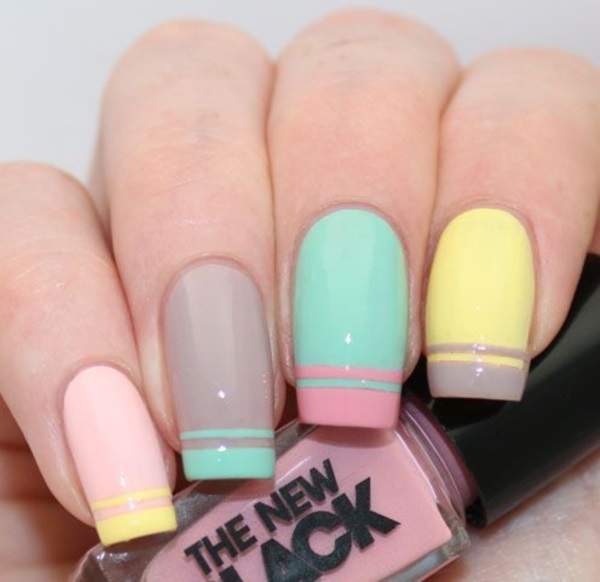
The longer the nail the better your stripes will look!

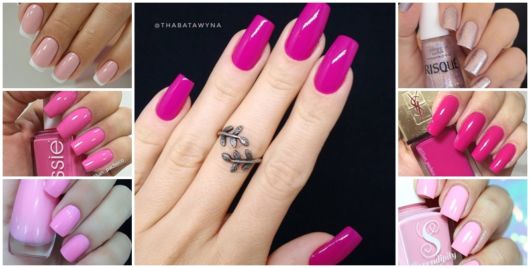
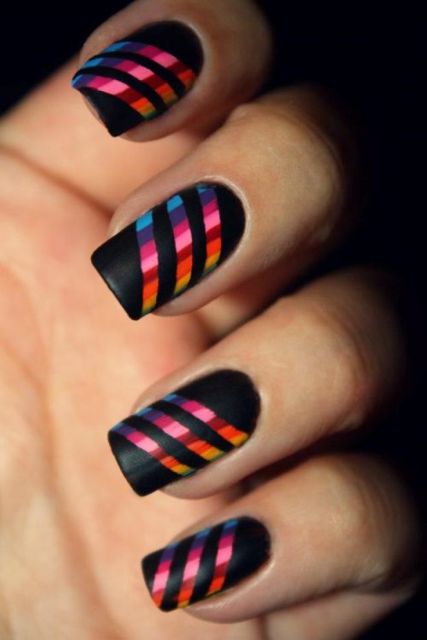
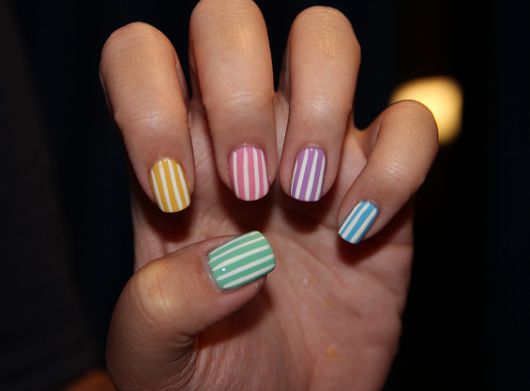
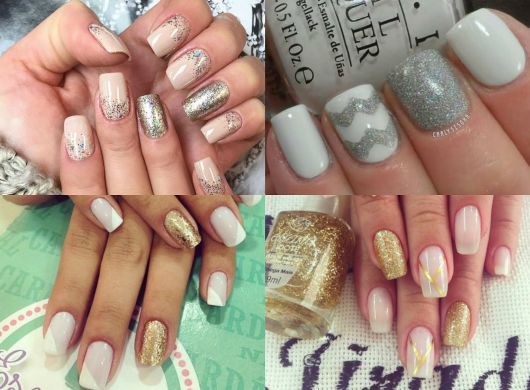
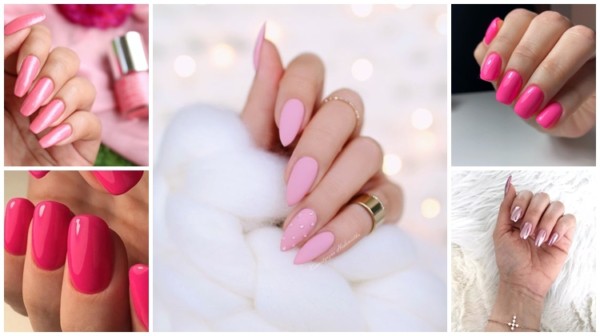
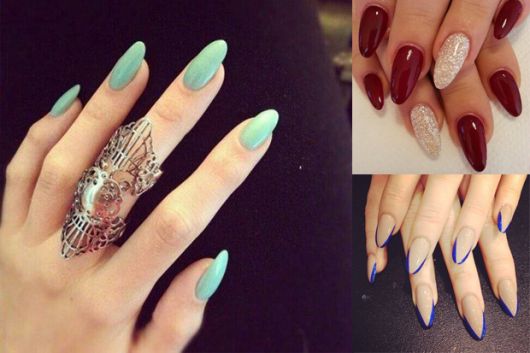
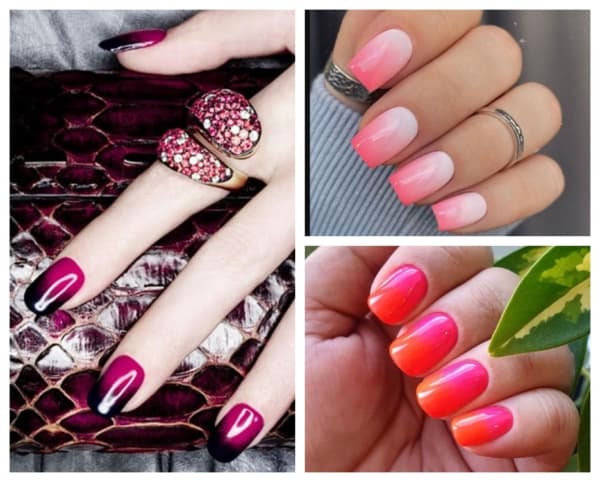
colorful
A nail of each color has lately been super on the agenda among fans of weekly manicures. Another trend is to mix nail polishes in the same production, creating a true rainbow in the hands. It's all about being prettier!
A super popular trick (and that works) is to invest in a layer of glitter nail polish. It doesn't always match, but it helps protect the nail polish longer. Look for the most discreet ones if you don't want to change the color of the nail polish but enjoy the advantage of the product.
How to Do Striped Nails Step by Step
Never tried to decorate your hands at home? Easy. There may be a few mistakes the first few times, but practice makes perfect. If even manicurists occasionally make mistakes, don't worry about getting the quantity wrong sometimes. It's not worth giving up.
Simple decorated striped nails step by step
The first step is common for any nail decoration. You need to remove excess cuticles, make the necessary cuts and sand. The next steps are:
- Apply a base coat to protect the nail;
- Apply nail polish of the color that will be most visible. Being stripes in proportional sizes, just choose one of the nail polishes;
- Melt the nail polish brush a little with the second color. Pass straight on the nails to create the graphics;
- Wait for it to dry a bit and apply a base coat to protect the decor.
- Ready, nails created!
Striped nails decorated two colors step by step
After treating your nails well with the necessary products and sanding and polishing them, you can try another technique using masking tape.
- Pass a base polish to protect the nail – take the opportunity to use a strengthening base;
- Choose one of the colors of the stripes to apply all over the nail and wait for it to dry;
- Cut pieces of masking tape very small and the width you want to create the stripes. Apply to nails one by one carefully;
- Apply the second color of nail polish and wait for it to dry;
- Remove the tape and apply a coat of base polish to protect your polish and add shine;
- Soon, a decorated one!
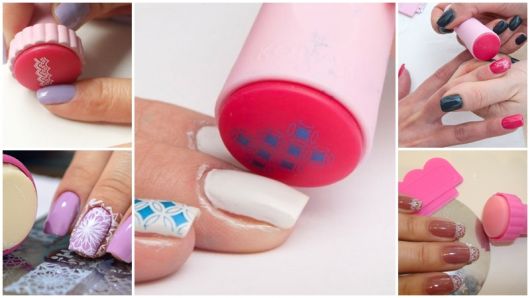
Striped nails decorated with tape step by step
After leaving your nails beautiful using scissors, smooth and removing the common dirt on long nails, just follow the step by step.
- Apply a layer of colorless nail polish;
- Now apply a layer of nail polish in the color you want to make your base nail polish, the strongest shade;
- With the nail polish still wet, place the pieces of nail tape one by one on top;
- Wait for it to dry a bit and apply a base coat on top to protect the decor;
- Remove the excess tape with the help of a spatula or toothpick and that's it, you already have beautiful nails!
After the step by step above, the video with some techniques of decorated striped nails It got easier, didn't it? But if you still have questions, just leave a comment below.

![+60 Different French Girls【[2022]】ᐅ Wonderful Nails!](/images/posts/4efc2f642e8dfec83ccd5b3e81dc3361-0.jpg)