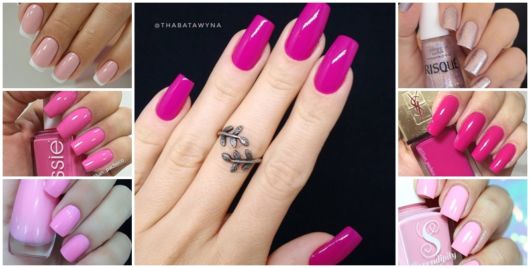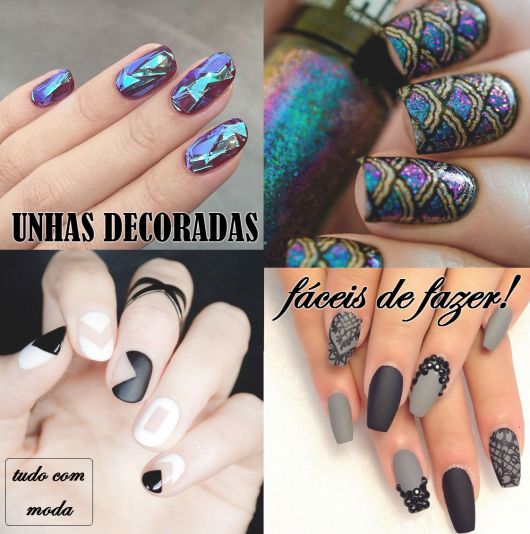
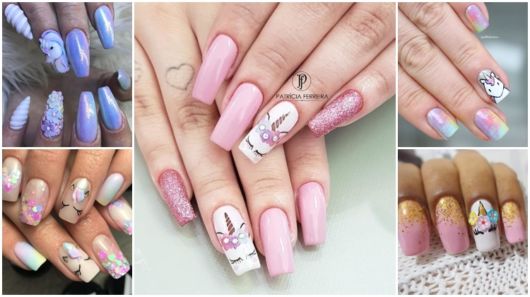
Photos of decorated nails easy to do:
There is a vast list of ways to decorate nails, there are no limits to creativity!
We separate three ways to do decorated nails, which are considered the easiest to do: with a toothpick, with a sponge and with adhesive tapes. That is, you can create and paint cute drawings without leaving home and with your own material!
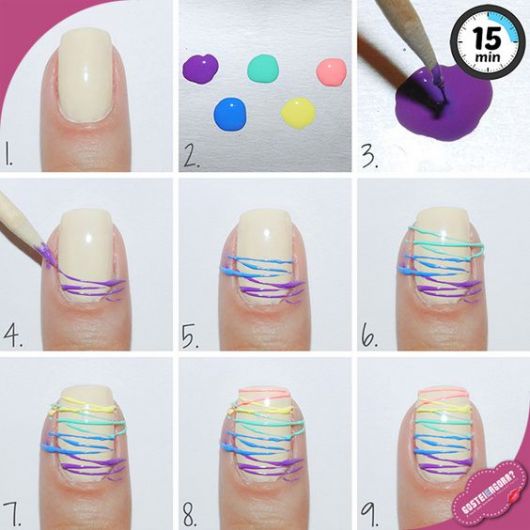
with toothpick
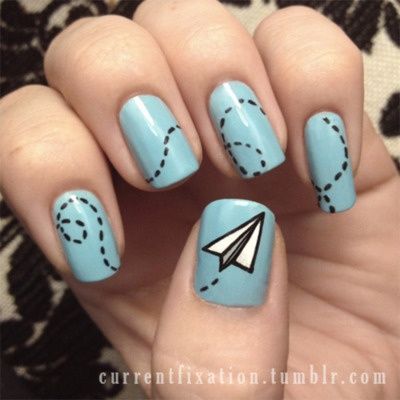
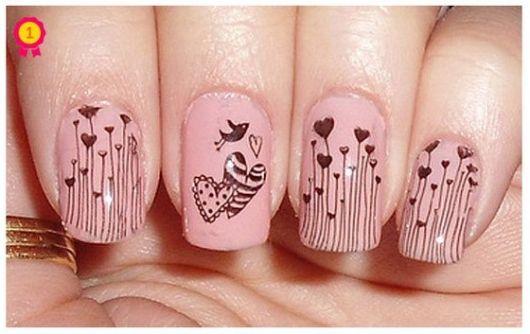
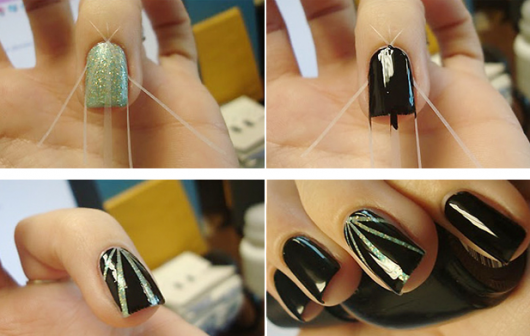
With a toothpick or an orange stick you can make different designs on your nails.
It is important that the sticks have fine tips to give more precision when making strokes and drawings with fine lines, like the example below:
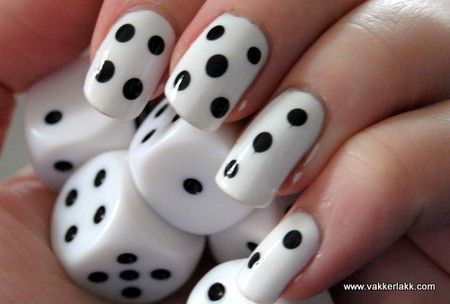
To make balls and larger dots, you need a toothpick with a rounded tip. Look:
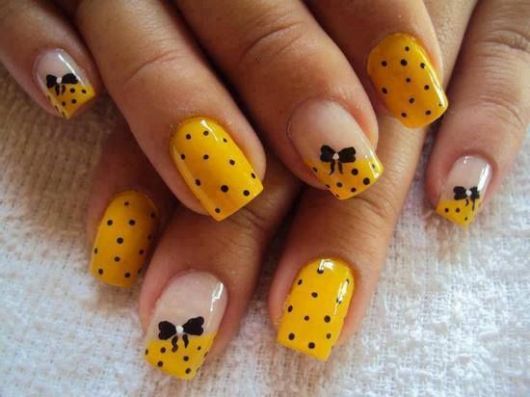
with at least two nail polish colors and a toothpick at hand you will be equipped to put your creativity into practice.
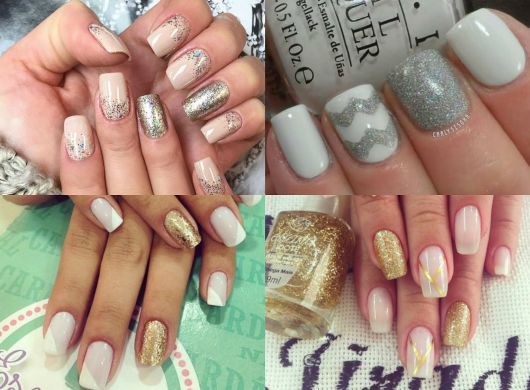
We selected some nail art made with toothpicks for you to be inspired.
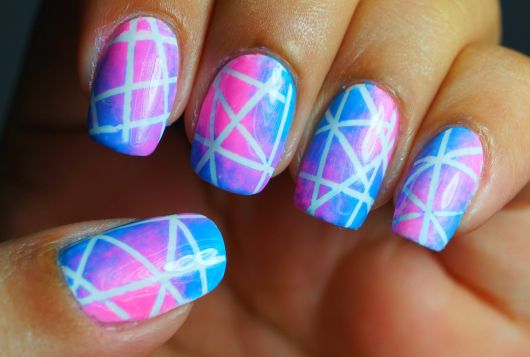
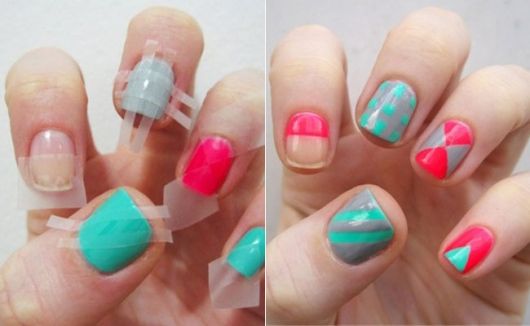
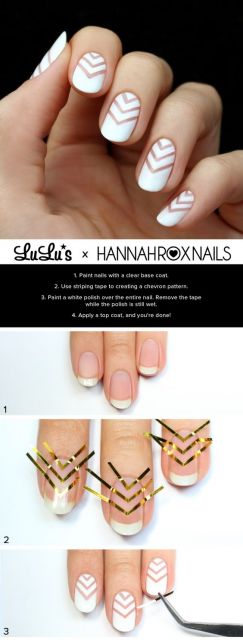
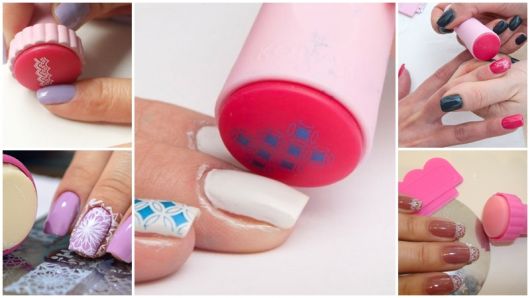
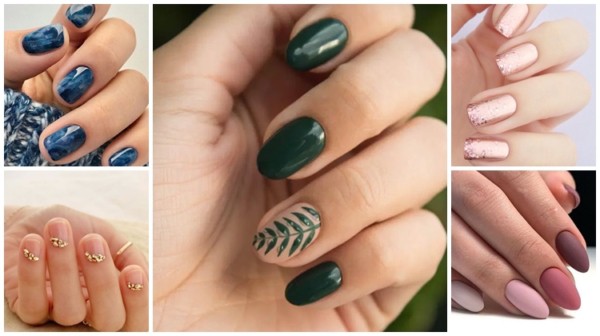
With adhesive tape
This technique appeared to make life much easier for girls who wanted to do their own nail art.
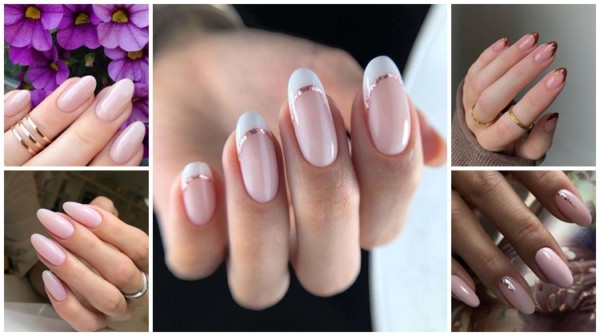
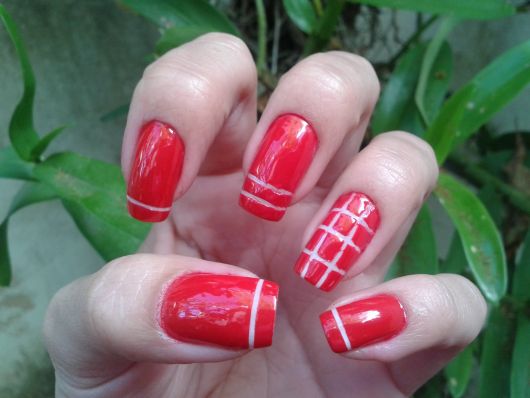
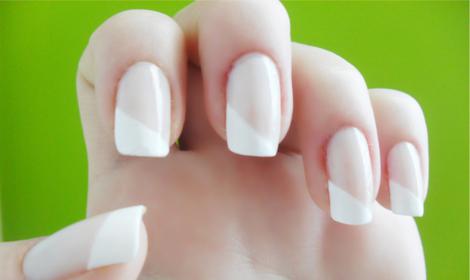
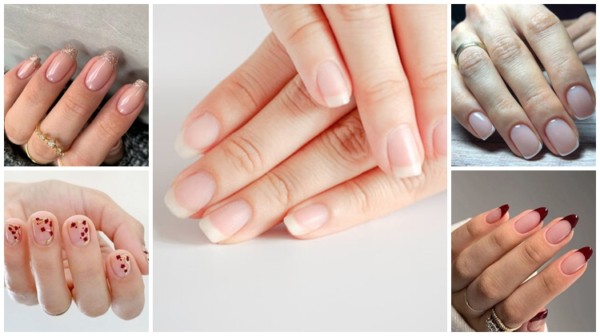
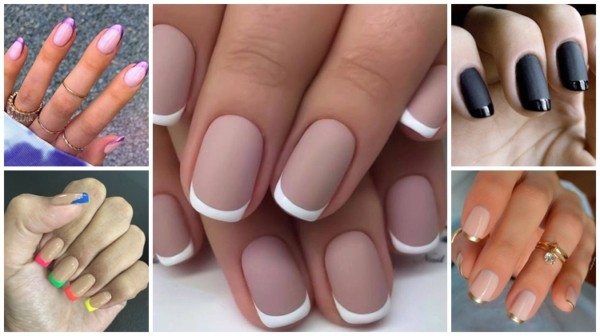
With an adhesive tape you can make geometric shapes in all ways, in addition, they are great to help make francesinhas and inglesinhas.

Nail art specialists recommend the use of a boleador, that metal aplite that has a little ball at the end, you know?
So, they suggest that it be used on nails decorated with ribbons in case the nail polish smudges or stains when the stickers are removed from their place. You will “hit” the shape you want on your nails with the baller.
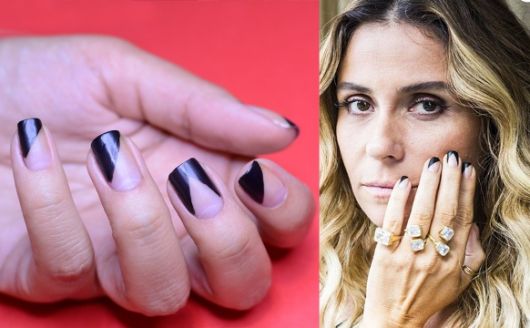
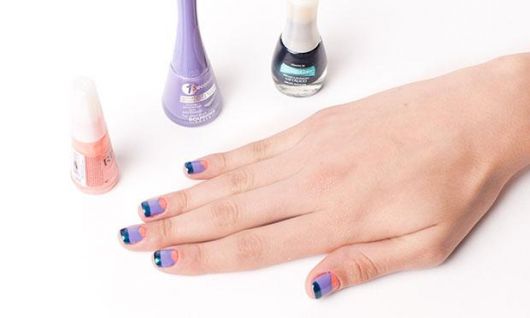
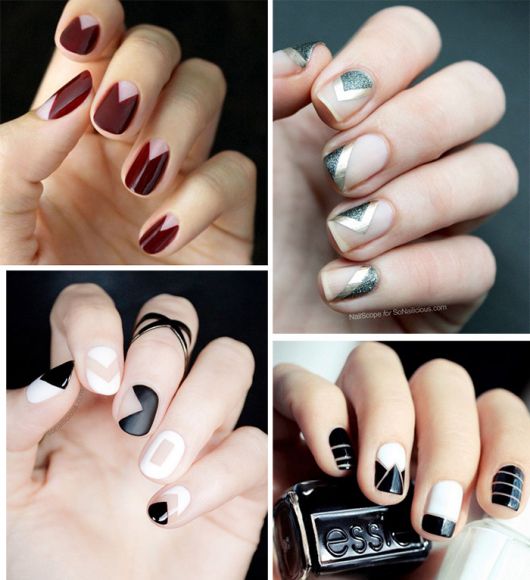
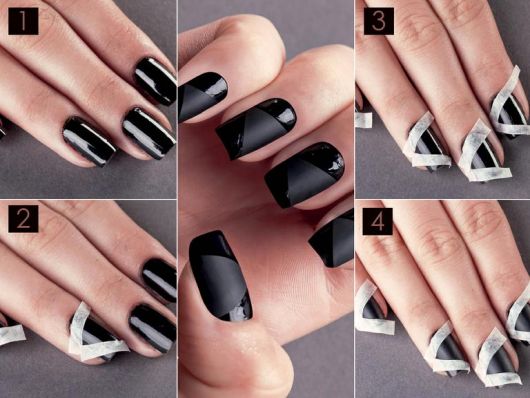
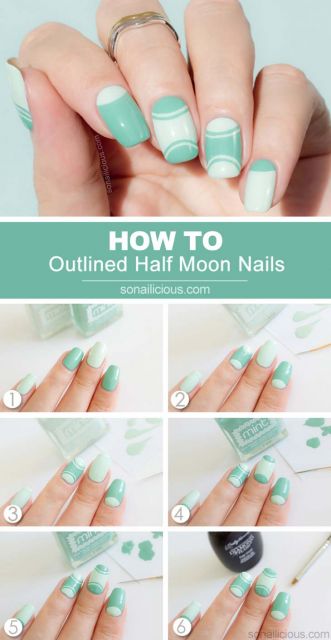
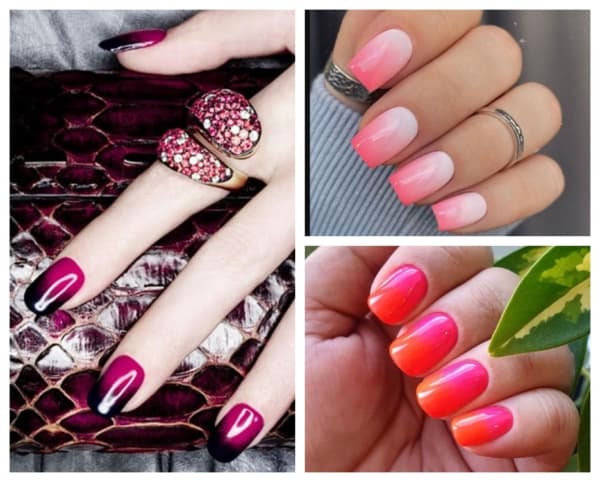
With the success of the nails of the character Atena by Giovanna Antonelli, the “negative nails” or “negative manicure” trend broke out.
This trend is the way to paint the nails geometrically leaving part of the nails without nail polish:

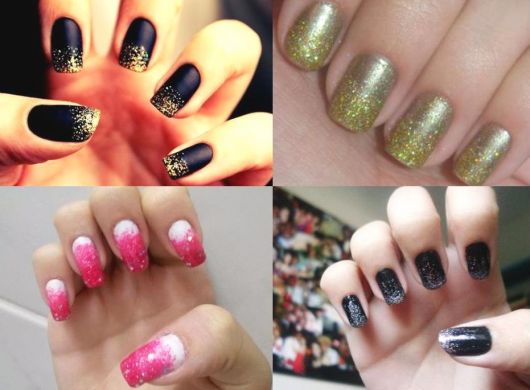
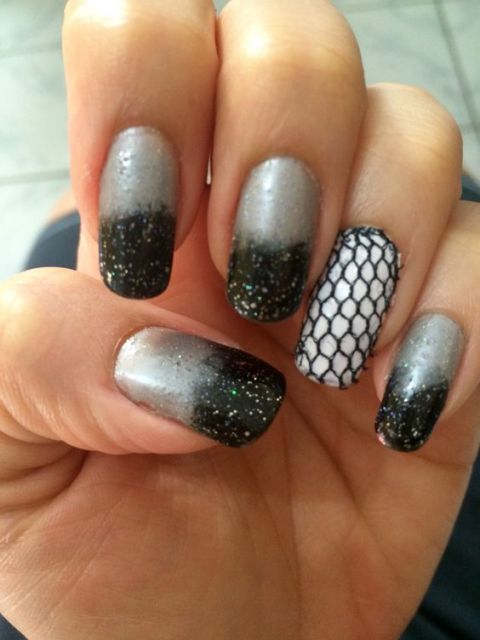
like sponge
This is one of the easiest decorated nail techniques to do at home. To do it, you don't need to buy specific manicure materials, you can even use dishwashing sponges!
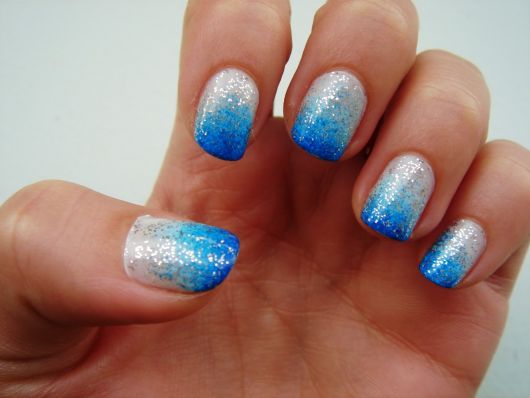
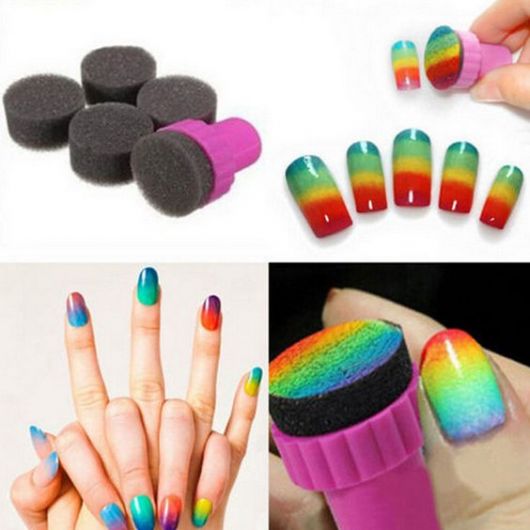
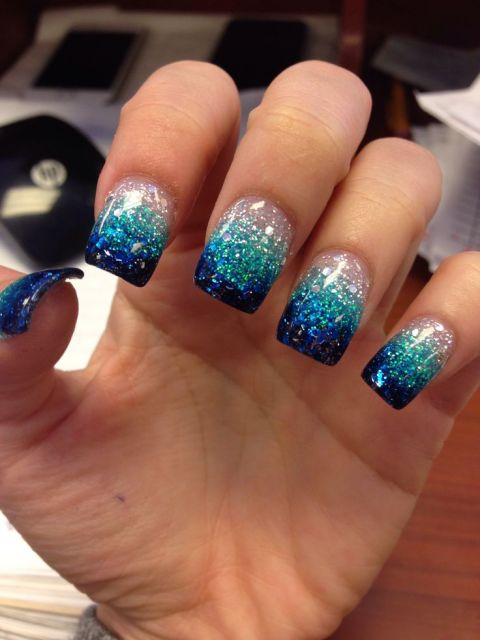
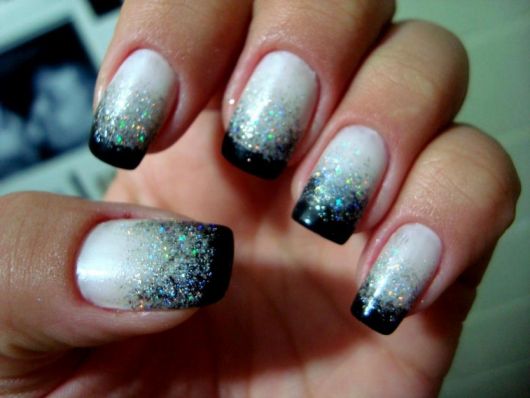
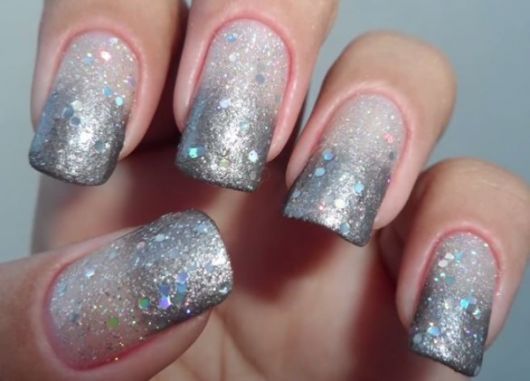
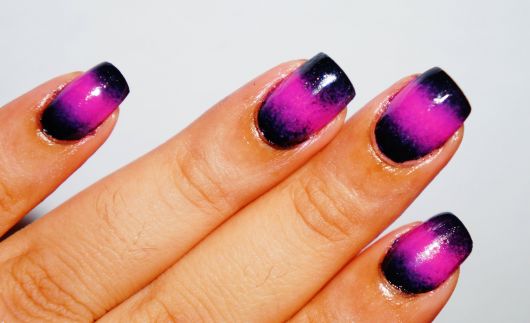
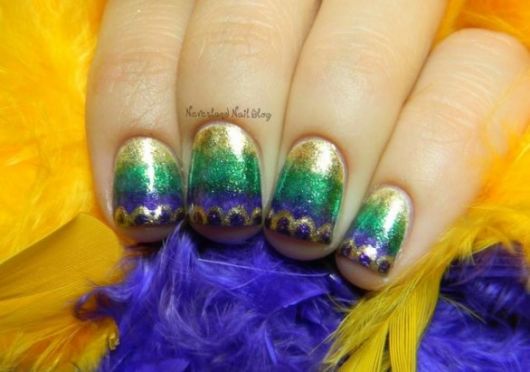
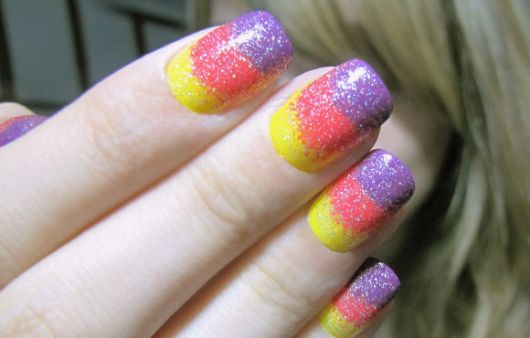
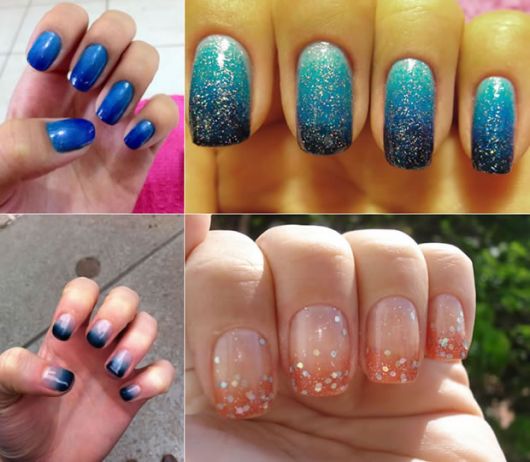
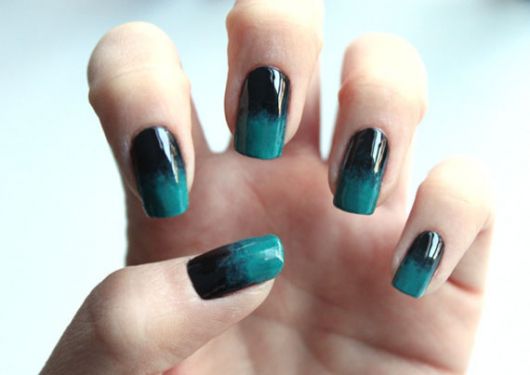
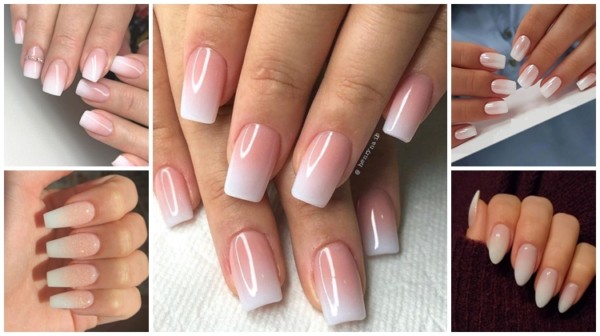
With this item you can apply the ombre (a gradient of the same tone) and the gradient conventional (ladder of some tones) on the nails.
You can find their own sponges in specialized stores, but as we said, it is optional because you can use homemade ones.
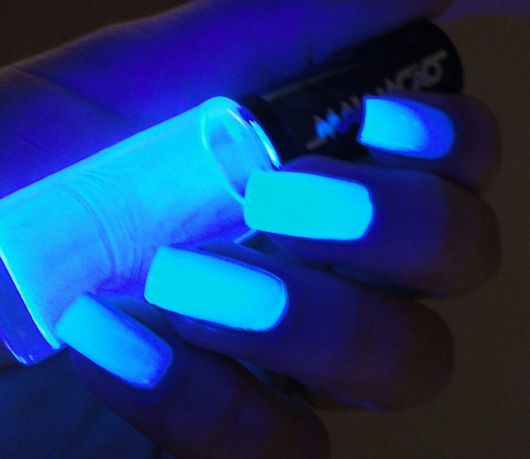
In addition to enamels, the sponge technique works a lot with sparkles and glitters. You insert them right after applying nail polish.
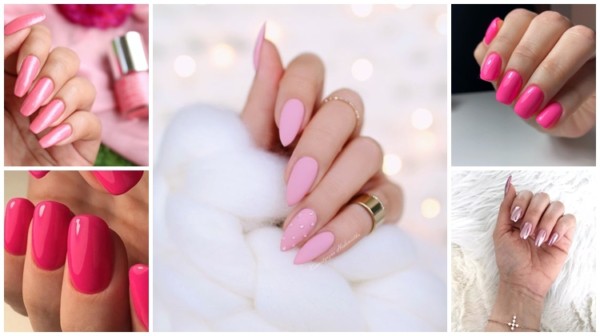
You can create multiple color sequences. Just use your imagination!
The cool thing is that the nails can be of any length, both long and short. They look beautiful either way!

How to make an easy decorated nail
step by step
Well, now that you've been inspired enough with many easy-to-do decorated nails, it's time to learn the step-by-step of some beautiful designs!
Bearing in mind that to make decorated nails at home, you can improvise with kitchen sponges, toothpicks instead of a baller, fine brushes.
In addition, you will need nail polish remover to clean the corners, foundation to apply before and extra shine to finish. The nail polish colors are free to choose, don't get attached to the shades of the models!
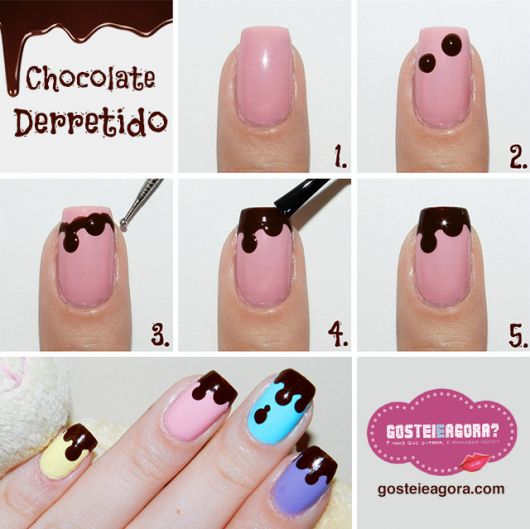
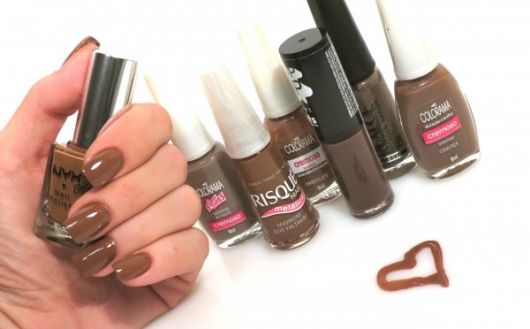
Melted chocolate
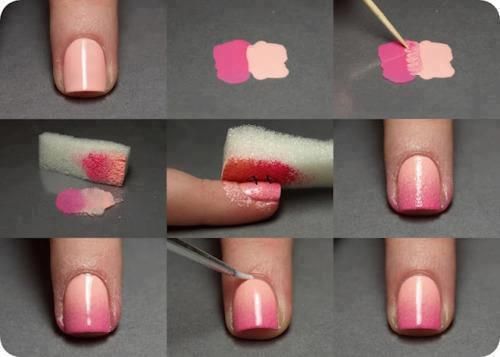
ombré with sponge
gradient with sponge
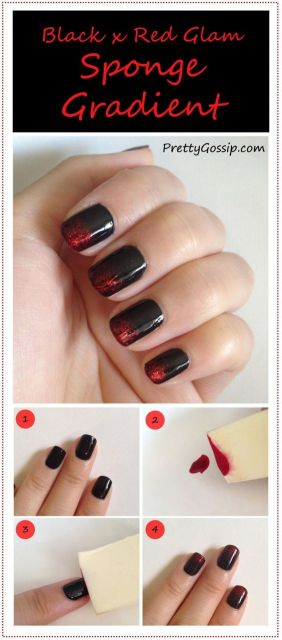
gradient with sponge

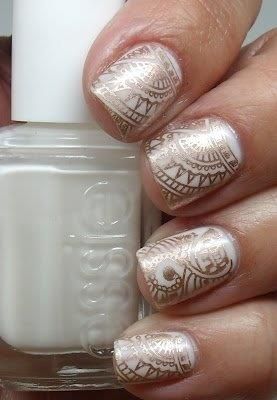
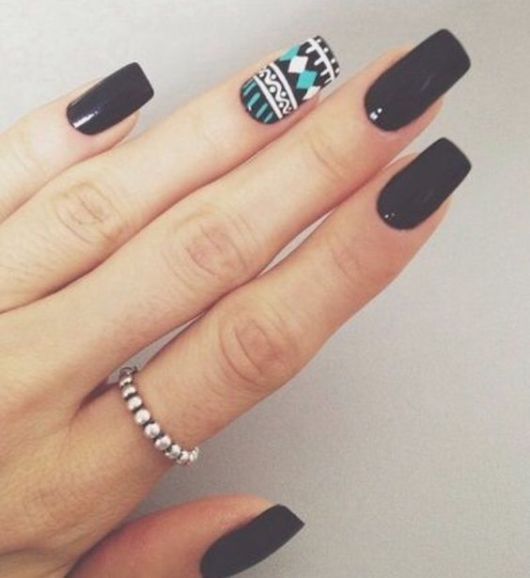
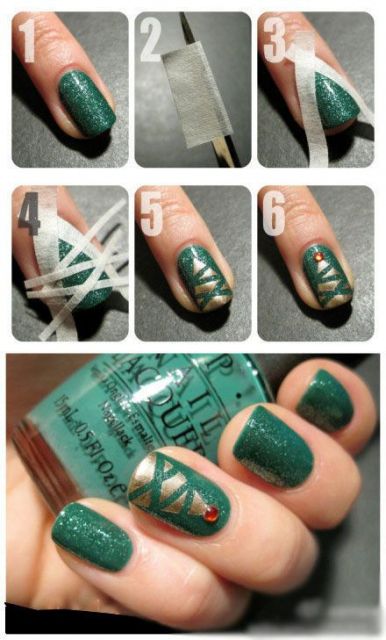
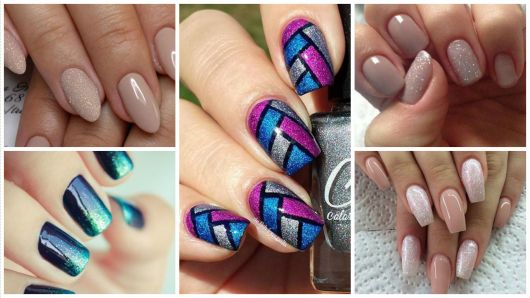
Ethnic nails with adhesive tapes
Risks with adhesive tapes
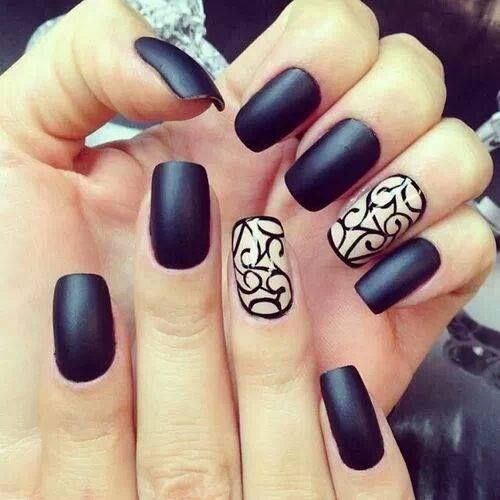
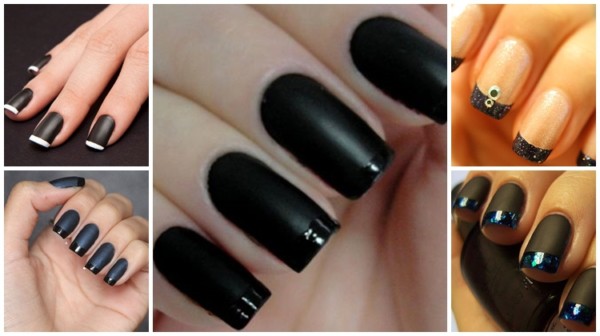
Negative matte nails with tapes
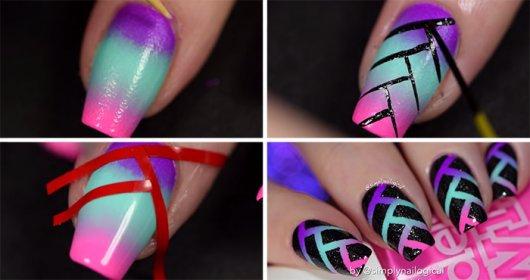
Rainbow colored scratches with toothpick
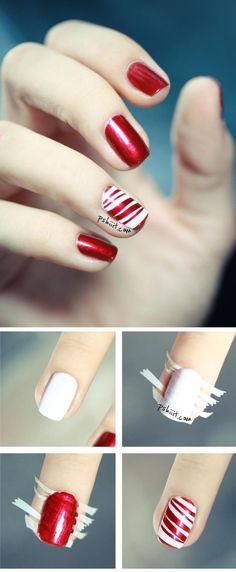
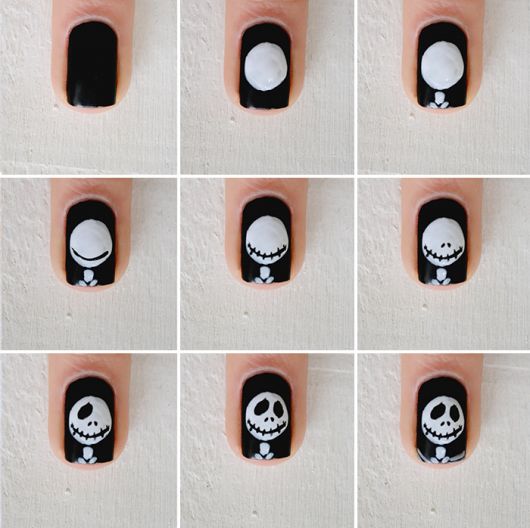
Nails from the movie "The Nightmare Before Christmas" with toothpick
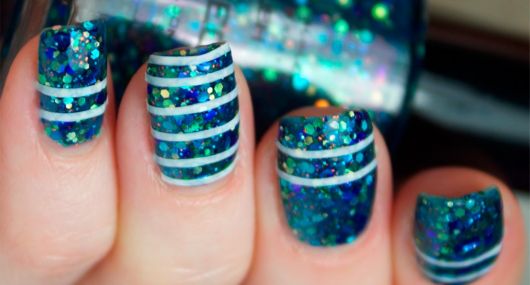
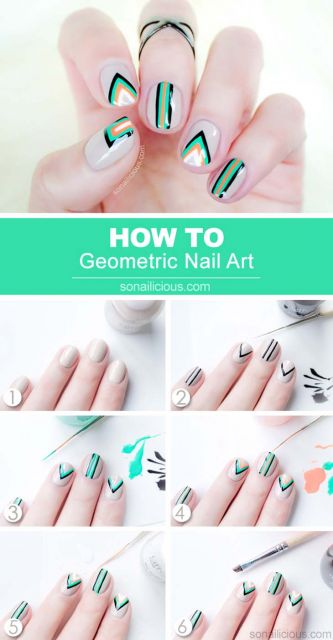
Green and blue traces with adhesive tapes

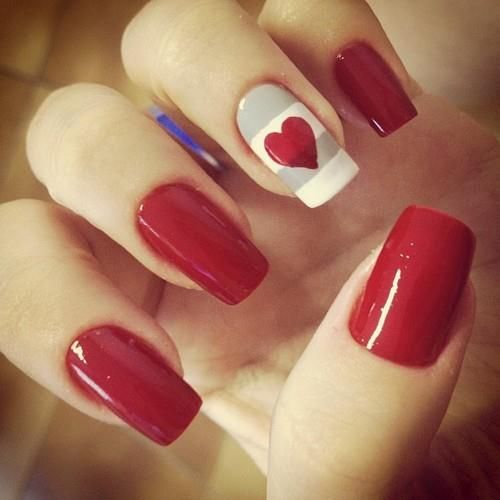
Shiny only child with sticky tapes
A geometric and colorful negative with stick
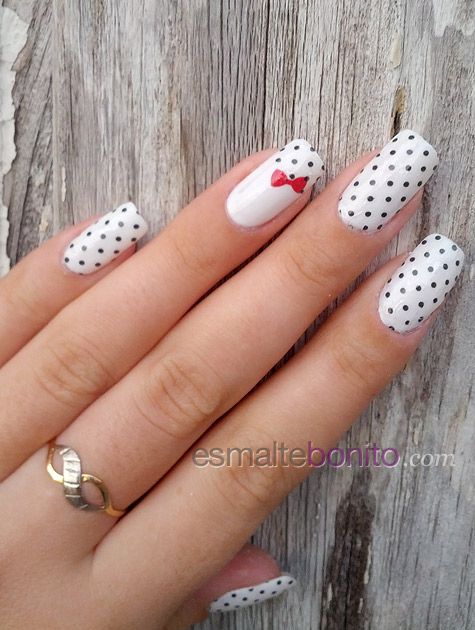
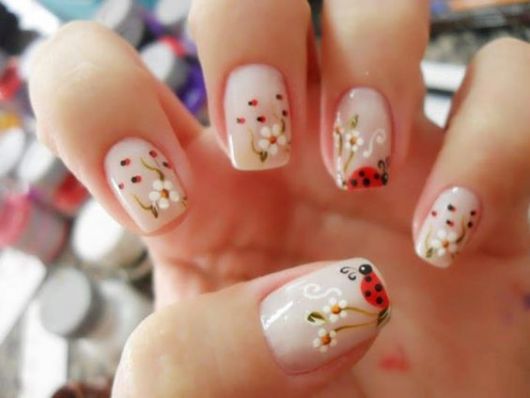
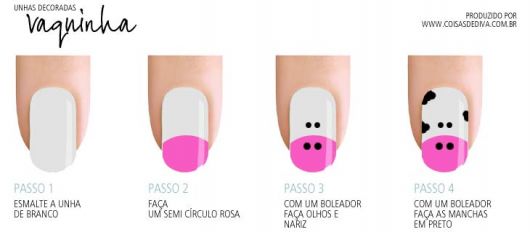
ladybug drawing with toothpick

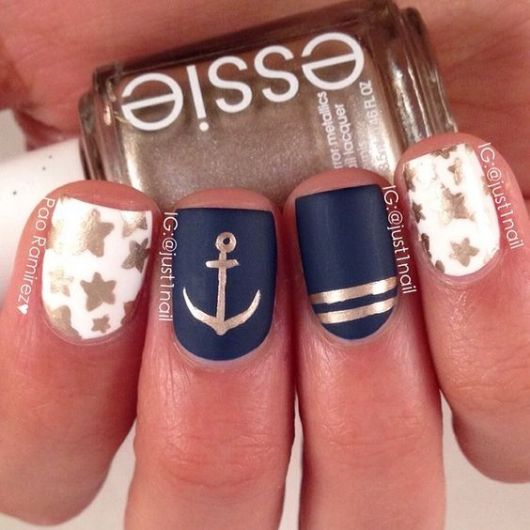
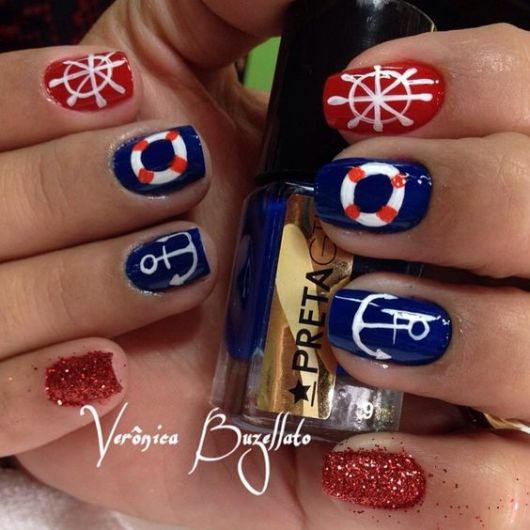
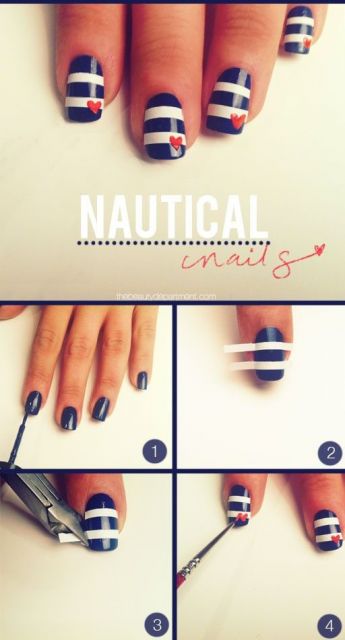
Nautical design with ribbons and toothpick
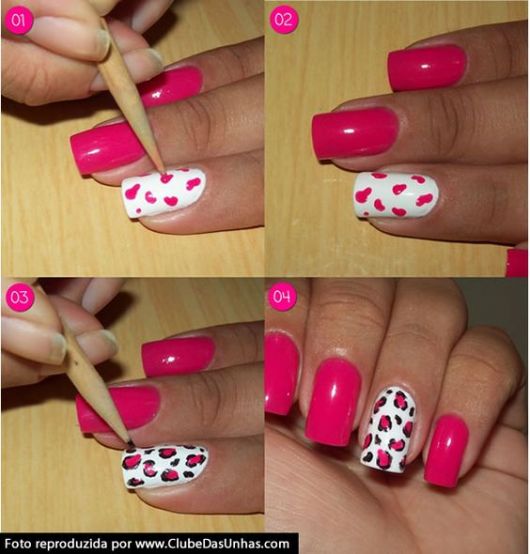
Only child of a leopard with a toothpick
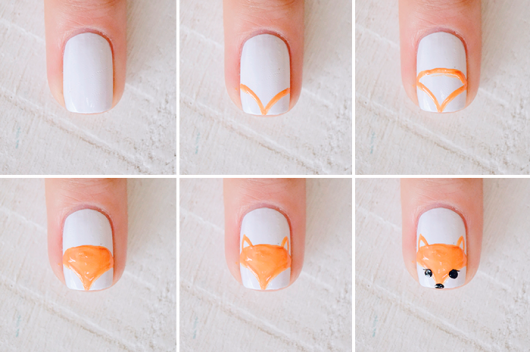
Fox drawing with brush and toothpick
Kitty drawing with toothpick
English with adhesive tapes
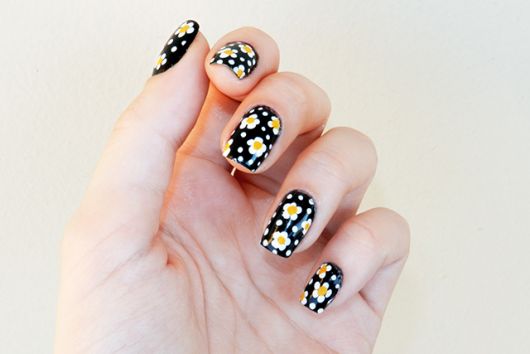
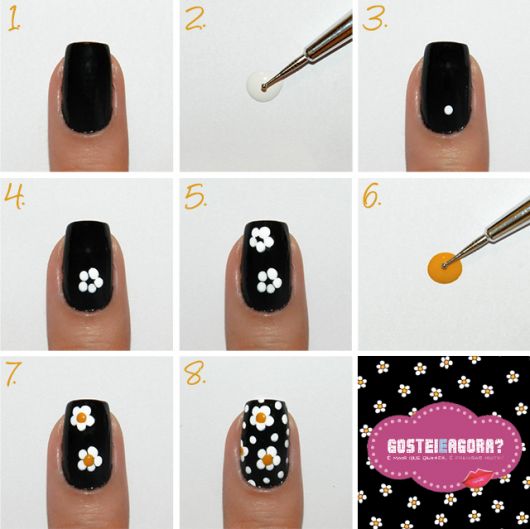
Drawing of daisies with toothpick
Easy to do nail art videos
Want to learn more about decorated nails? We also selected some videos with different tutorials for you to know and do together. Check it out and let us know if you liked it!
So, did you like to know about decorated nails that are easy to do alone?
With enough concentration and most importantly: creativity, you will be able to create beautiful designs and styles for your nails, don't be afraid to dare!
![+60 Different French Girls【[2022]】ᐅ Wonderful Nails!](/images/posts/4efc2f642e8dfec83ccd5b3e81dc3361-0.jpg)