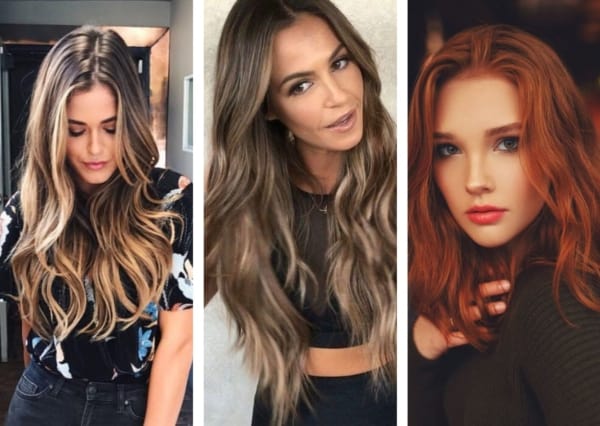
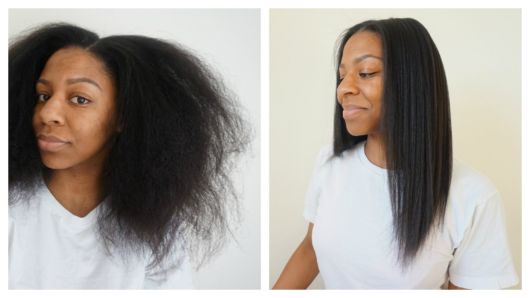
And if you think this result is impossible, we've put together all the tips and step by step for you to learn how to brush your hair and thus show off the salon look, but without having spent money to fix the locks.

Hair Brush Tips
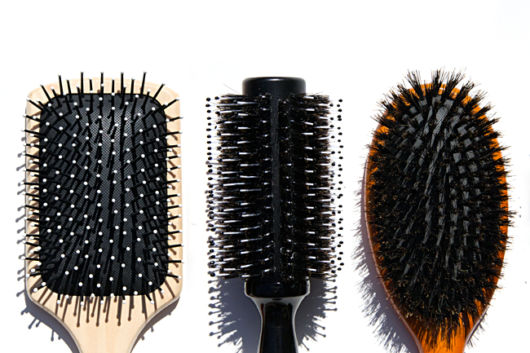
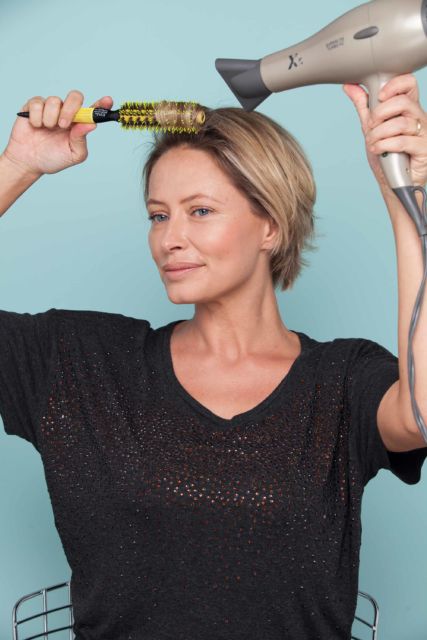
- Brush size/type: to make a salon brush at home, one of the first steps is to choose the type and size of brush you are going to use to style your hair. The size of the brush must be compatible with the length of the strands, so shorter hair requires smaller and thinner brushes, while large locks allow you to use larger brushes. When choosing a brush, opt for ceramic models, which help maintain the heat of the dryer and thus smooth the hair more easily. Brush bristles can be mixed or natural; the use of mixed bristles is indicated for smoothing long and medium hair, while the natural bristles are perfect for short hair and for styling locks, making the beautiful brush modeled with curls.
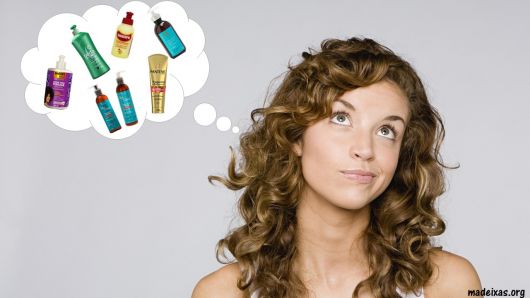
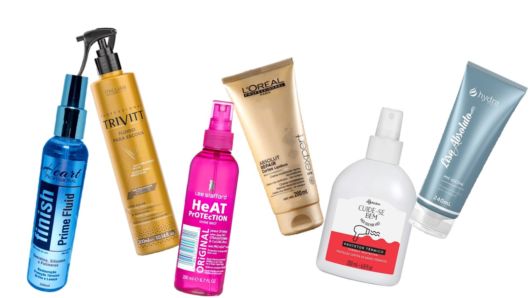
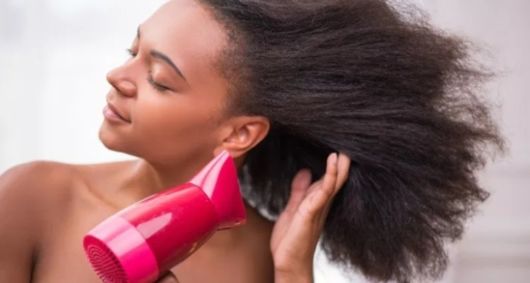
- Thermal protector: to learn how to make a brush at home, an important item is to follow the tricks used by professionals, such as using a thermal protector on the hair before starting to use the dryer. The thermal protector is indispensable, as it helps to protect the wires, preventing the dryer's heat from drying out the locks, and some models can even facilitate the drying and brushing process.
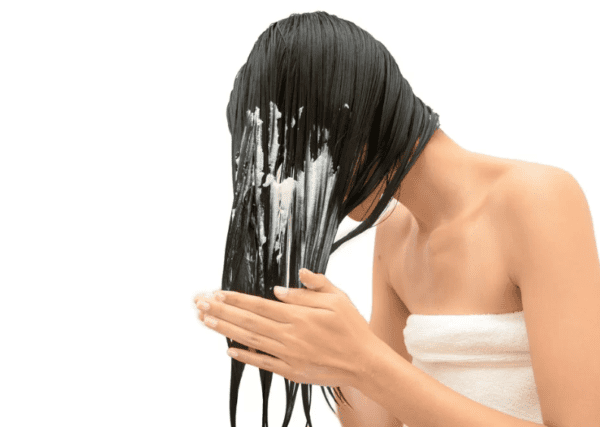
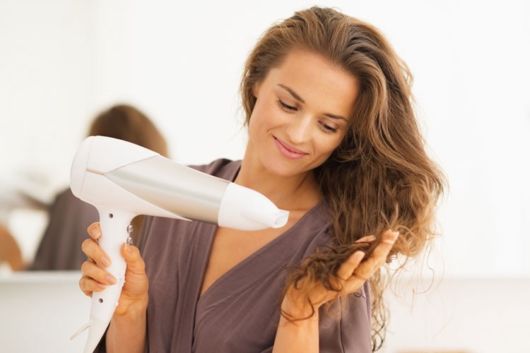
- Dry the strands: after washing the strands well and applying thermal protector, it is not yet time to start the brush, but to remove excess water from the locks. At this stage, pass the dryer through all the hair leaving the strands damp, but without getting soaked. This process of removing excess water helps when brushing and prevents the locks from burning with excessive exposure to the heat of the dryer.
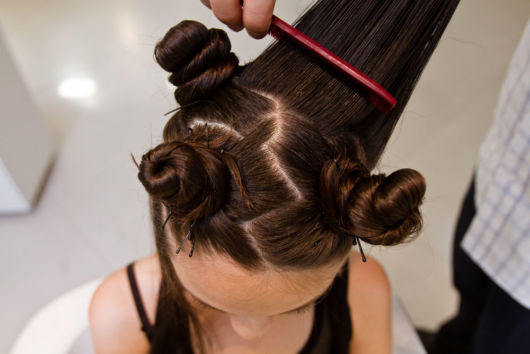
- Separate into locks: to start making the brush, an important step is to separate the hair into locks, leaving thin locks with little volume, which helps in the process of brushing the hair. Thick strands with a lot of volume can make the process difficult and the result may not be as good. Therefore, you need to be patient to brush smaller strands.
- Cold air dryer: after making the brush, a salon tip is to pass a jet of cold air on the locks. The use of cold air on already brushed hair is ideal for adding shine to the hair, as well as reducing the stubborn little strands that tend to stand up and are known for frizz.
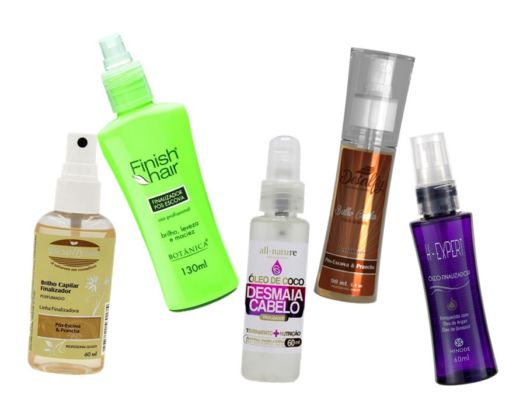
- Finisher: among the tips for learning how to brush your hair and that make a difference in the final result, an important item is the use of finisher after brushing. The finisher can be a light anti-frizz cream, finishing oil, silicone, among other products that help keep the brush longer, in addition to ensuring more shine for the locks. When applying the finisher, avoid applying the product at the roots, so that the hair does not look too heavy. Excess product is also not indicated, so apply the amount necessary for the length and volume of your locks.
How to Brush Your Hair: Step by Step
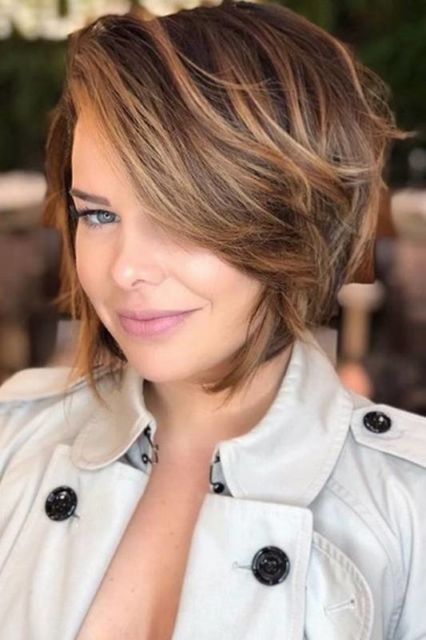
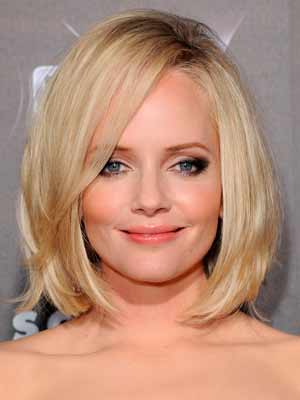
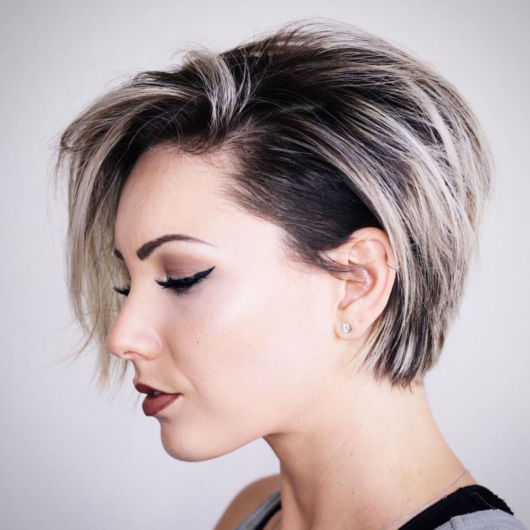
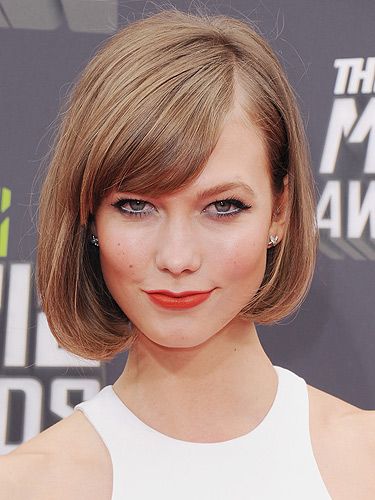
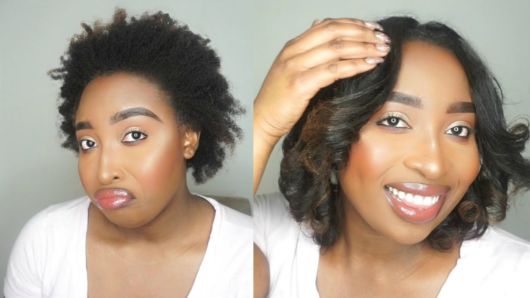
Short hair
Short hair has the advantage of being shorter when brushing and thus the process is faster, but for those who are inexperienced, short strands can be a little more difficult to arrange at first, but with the step the step of how to make a brush in short hair, the process will be much simpler.
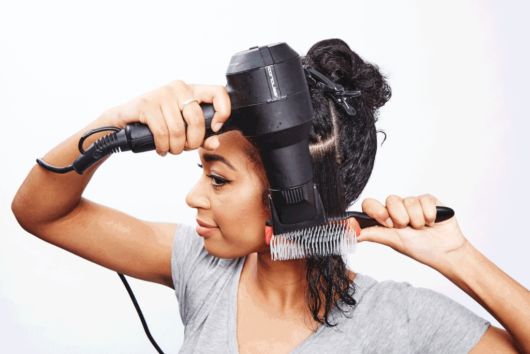
- After washing your hair and applying thermal protector to the locks, use the dryer to remove excess water from the strands;
- Separate the hair into sections, leaving the strands at the back of the neck loose and where you will start the brush;
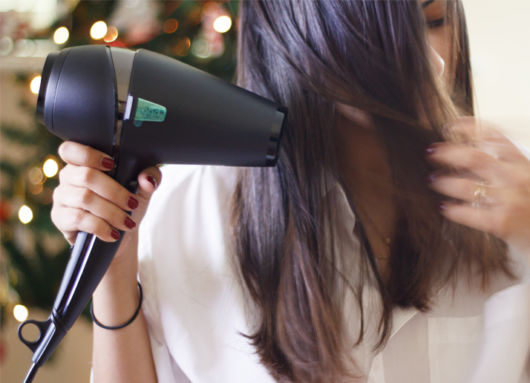
- Like a cylindrical brush with a smaller diameter, start by brushing the strands at the back of the neck;
- Gradually loosen the trapped locks and brush the top of the strands and the sides;
- Lastly, brush the fringe;
- Then just finish with cold air and finisher.
For the process of brushing short hair, some tips may help with the final result, such as:
- The first tip is for those who want to add more volume to short hair. In this case, apply a little mousse with the strands still damp and already with thermal protector. With the mousse already applied to the locks, just follow the step-by-step process of making a brush and keeping the strands more voluminous.
- The second tip is for those who have little volume at the root and want to lift that part. After making the brush, lift the locks from the top, and brush them from the roots to the ends pulling them upwards, which helps to create volume at the roots.

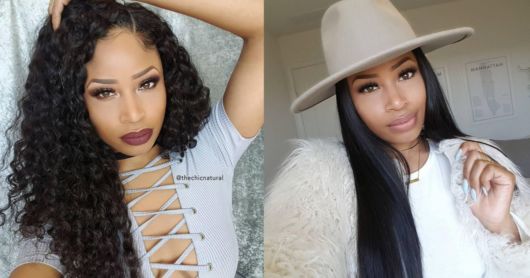
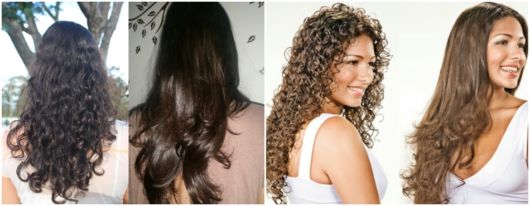
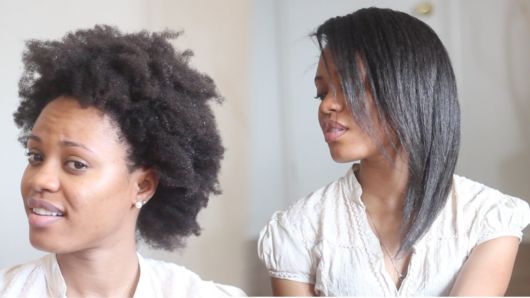
Curly hair
Curly hair is the type of yarn that allows many possibilities, including a good brush, which guarantees a smooth effect, but without losing the natural curls, which return after washing the hair.
- To make a curly hair brush, start by washing the locks and then apply a thermal protector that helps smooth the locks;
- Pass the protector all over the hair, comb the strands well and then pass the dryer to remove excess water from the hair;
- Separate the strands into strands and start brushing the back of the neck;
- Make a brush from the roots to the ends and gradually loosen the locks;
- To ensure a more natural result for curly hair, after brushing all of your hair, use a brush with natural bristles and a smaller diameter only on the ends, making a shaped brush with some curls on the ends, which avoids the spiked look of the hair. spikes.
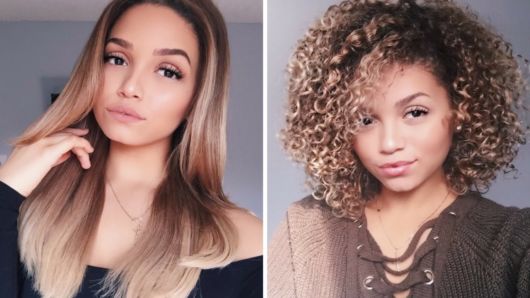


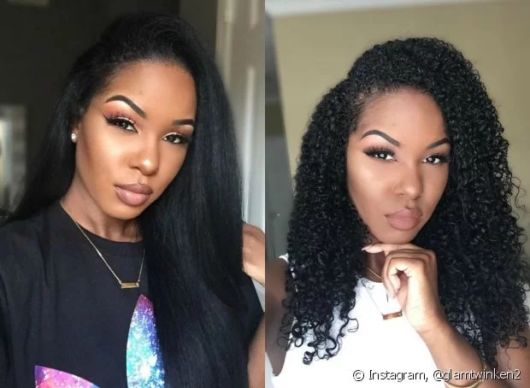

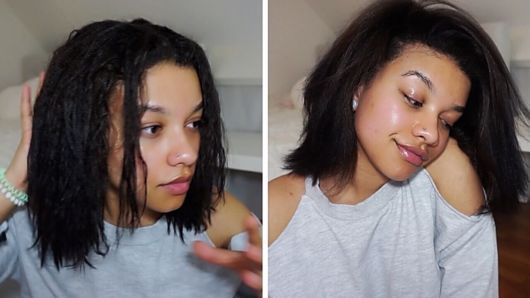
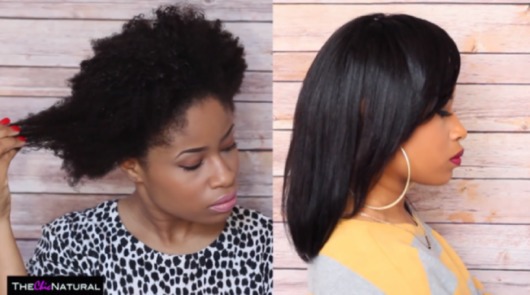
Curly hair
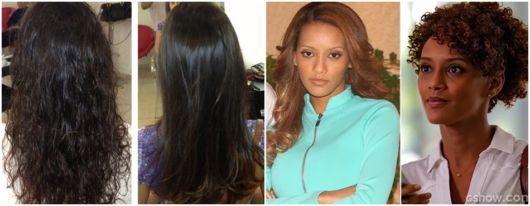
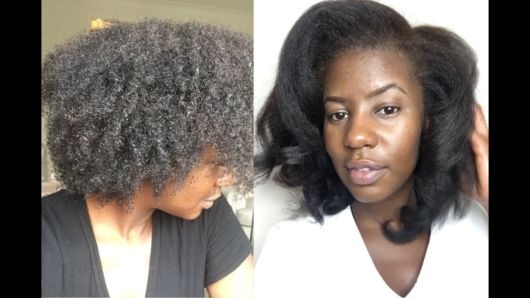
Curly hair may seem a little more difficult when it comes to brushing and ensuring the salon result for the strands, but with the correct step-by-step this task is much simpler.
- To make a salon brush on curly hair, start by washing the strands well and then apply a thermal protector that also has a hydration function, as curly strands tend to have a more dry appearance;
- After applying the leave-in all over the hair and untangling the strands, use the dryer to remove excess water, but keeping the hair still damp;
- Divide the hair into small strands and start the brush at the nape of the neck;
- Unlike the traditional way, start by positioning the brush at the ends of the lock and pulling it well to smooth;
- Dry the ends well and gradually go up the brush to the roots in order to brush from the ends to the roots, which prevents the ends from becoming split;
- After brushing all over the hair, apply a finishing oil to ensure a more hydrated effect on the brushed hair.
So, did you learn how to look like a salon by fixing your locks at home? If you have any tips or tricks when it comes to tidying up the wires, share them with us in the comments.


![Red Front Mecha: +50 Wonderful Ideas!【[2022]】](/images/posts/b1d51f076658647f85c4ce4fae09de90-0.jpg)