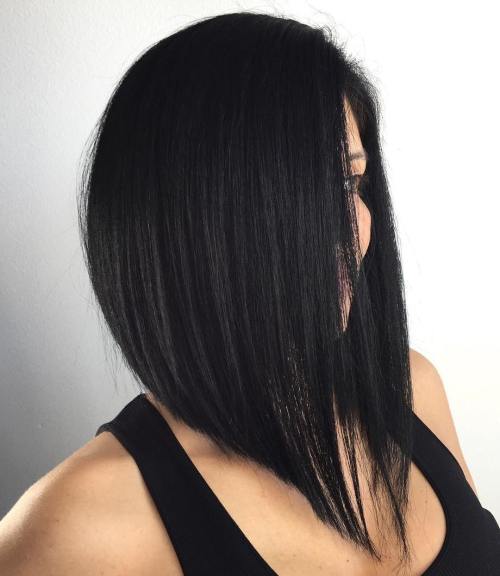
The V cut is nothing new in the world of highlights, but it is a very versatile cut that works for different types of hair, and therefore remains a strong option when changing the look.
And if you're thinking of adopting this style when it comes to cutting your locks with scissors, in this post we've gathered inspirations for this type of cut on different types of hair and lots of tips to get the look right.
Decrease the Volume?
For those who want to change their look and still bet on a cut that reduces volume, the V cut is an excellent option.
The cut with the longer part of the back helps to control the volume of the hair and is a great bet for more voluminous hair.
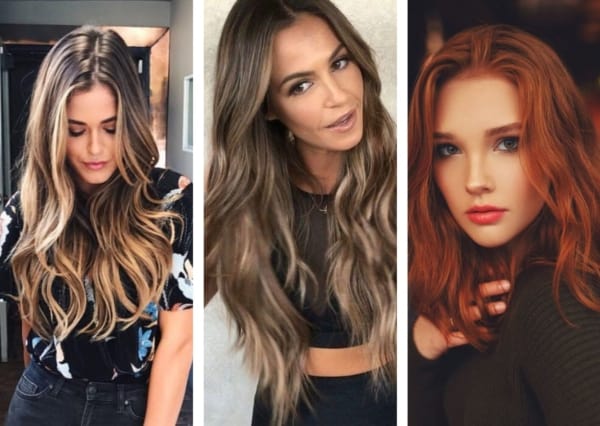
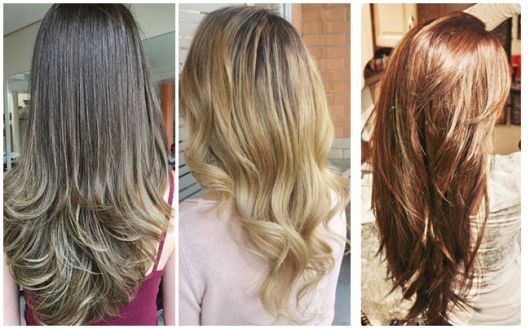
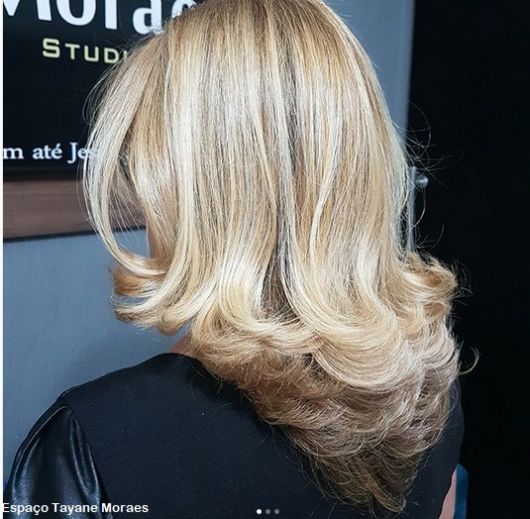
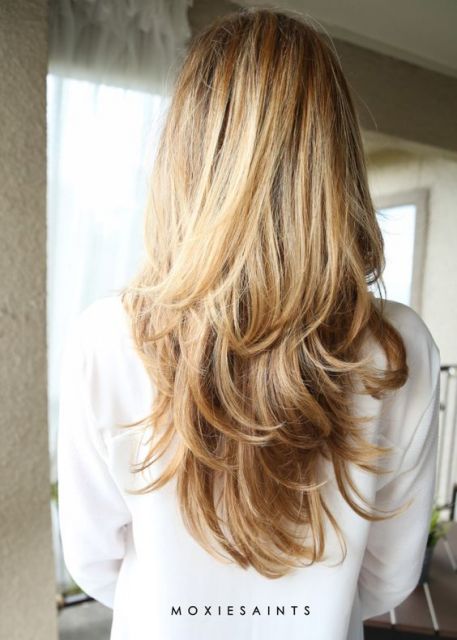
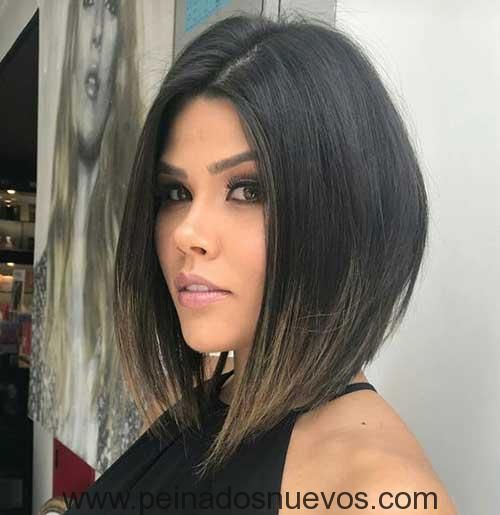
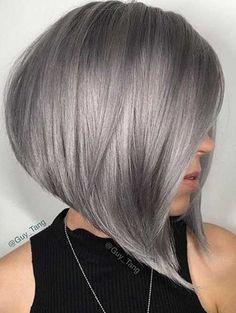
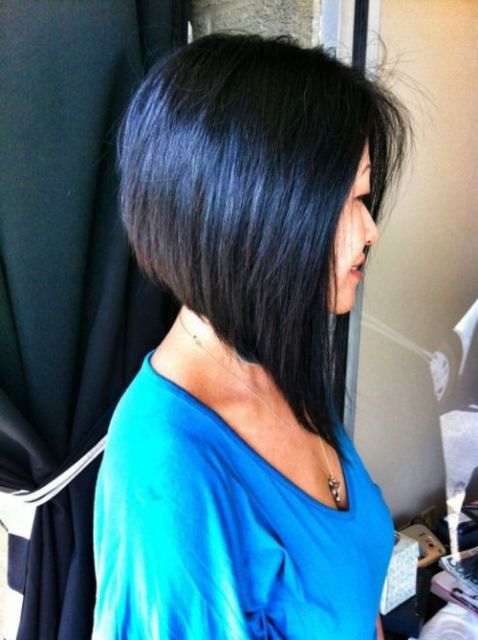
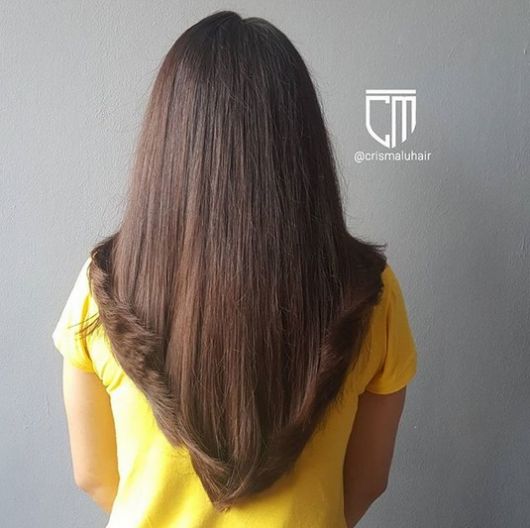
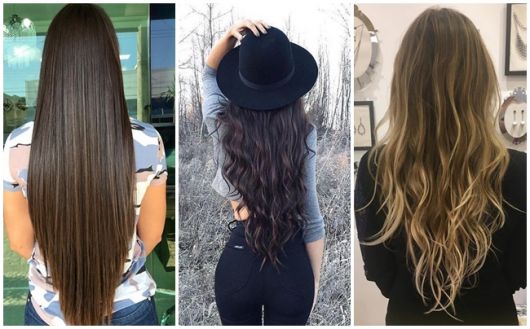
V-cut photos and inspirations
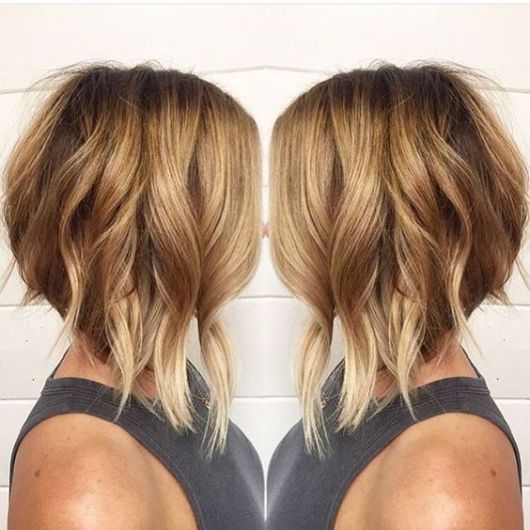
Peaked / Layered
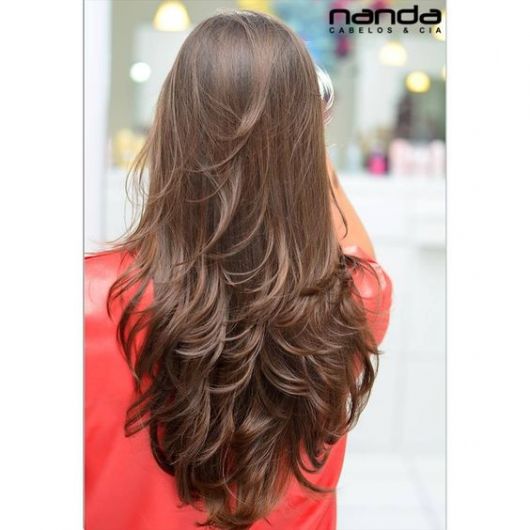
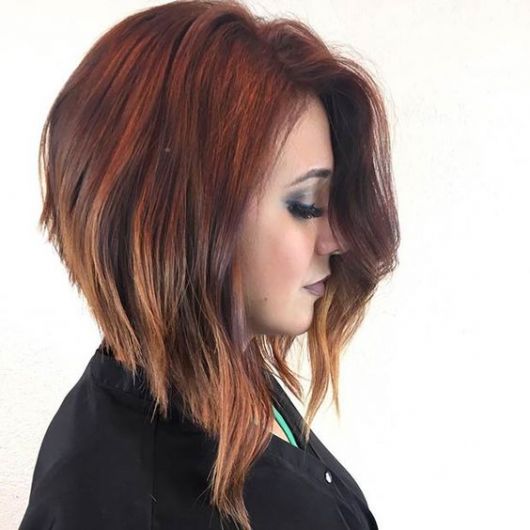
V-cut hair is a great bet for a versatile and functional cut, but if the idea is to bet on a cut that has movement, it's worth mixing the cut with the cut or in layers.
In the case of spiked ends, the hair gains a little more volume and is perfect for thin strands, which gain a natural movement.
The layers, on the other hand, take the weight off the voluminous hair and make the V-cut lighter, which is less marked.
As inspiration for a V-cut cut, the famous Mariana Rios is a great inspiration!
The hair of the actress and singer has a much shorter V-cut in the front, giving lightness to the region of the face.
The spiked tips help to make the cut lighter too and create a more modern look for the haircut.
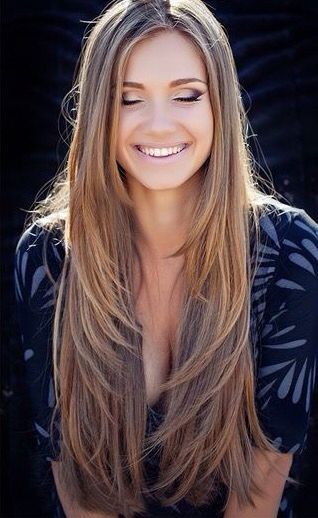
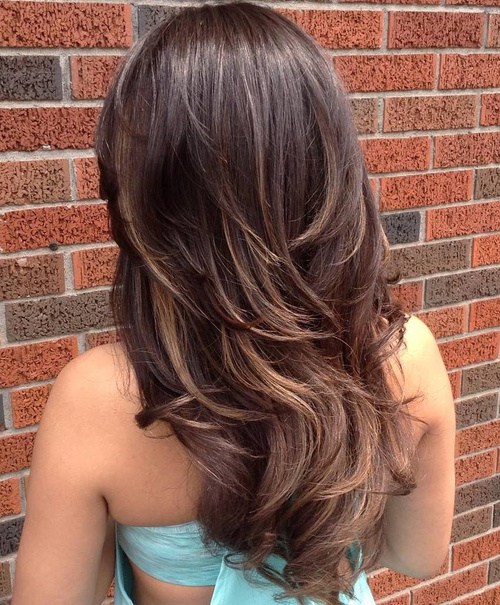
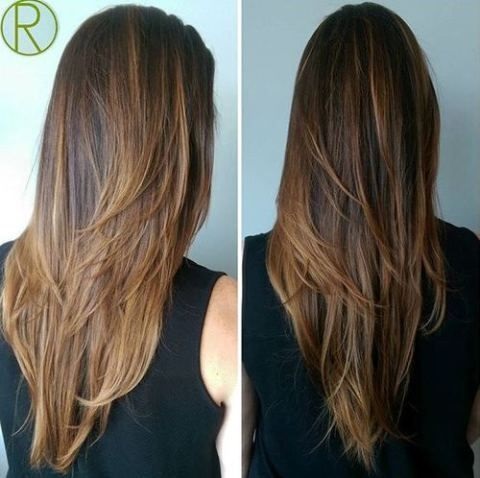
As inspiration for the layered V-cut, this inspiration is perfect!
In the proposal, long hair brings the base with V-shaped ends and layers at different heights, leaving the hair with a more movement and lighter look.
And to enhance the cut, the idea was to brush the strands with the ends outward, highlighting the look of layered hair with movement.
Short hair
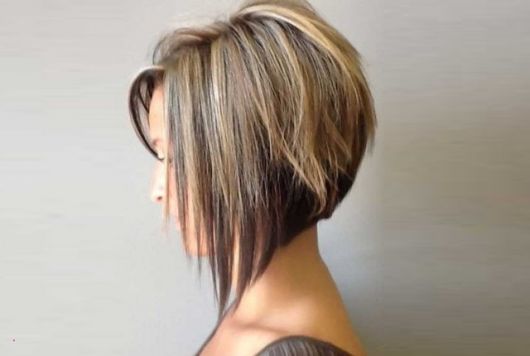
And for those who bet on the short female haircut and want to adopt the V-cut look, a variation of this cut for short hair is the inverted V.
Instead of adopting the longer back, the V cut for short hair brings the longer front with the shorter back, as if it were an upside down V.
Invested
The first inspiration for the inverted V cut in short hair brings the idea of the curly hair cut.
In the proposal, the curly hair is cut evenly and short at the back and the longer ends go at the front, creating the idea of the inverted.
The result is an asymmetrical cut, with long ends, but with a more harmonious look, as the long ends follow the height of the rest of the hair, but are a little more elongated, without leaving the front too uneven.
This inverted V cut style is also quite functional for straight hair, as the proposal shows.
In this case, straight hair makes the elongated ends more evident, but still with a harmonious and balanced look.
In addition to the modern cut, the hair still has lighter ends, which enhances the inverted V cut and the modern look.
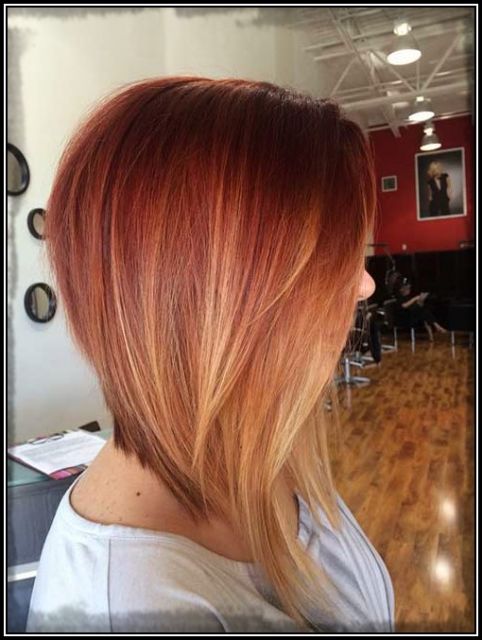
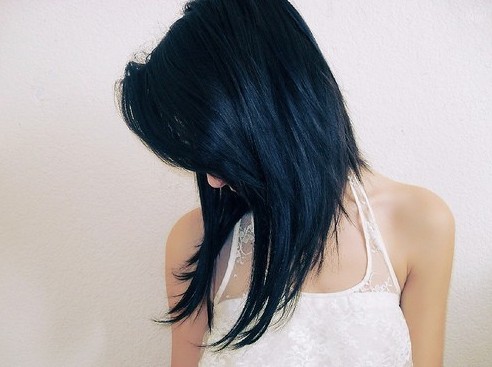
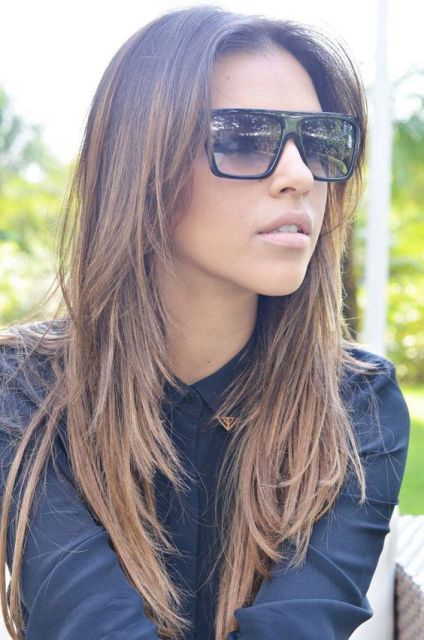
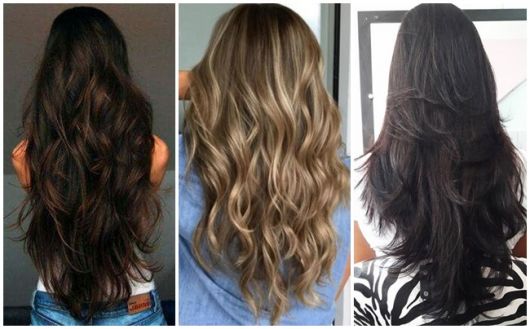
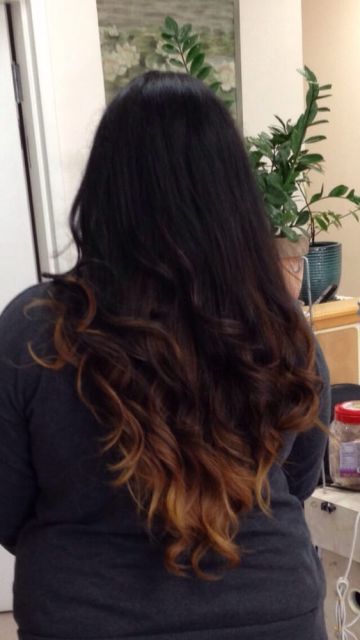
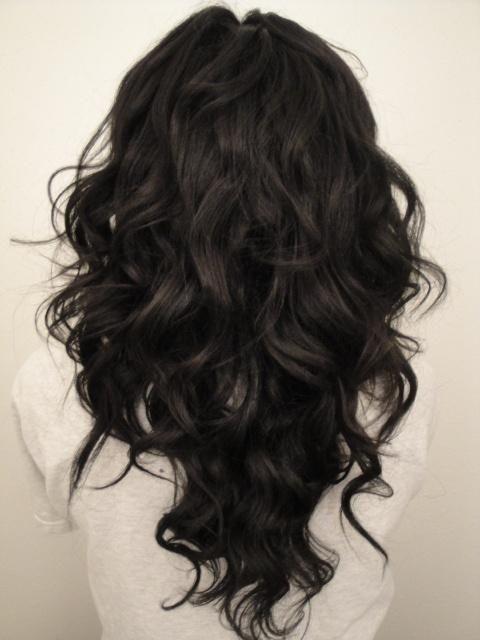
Long hair
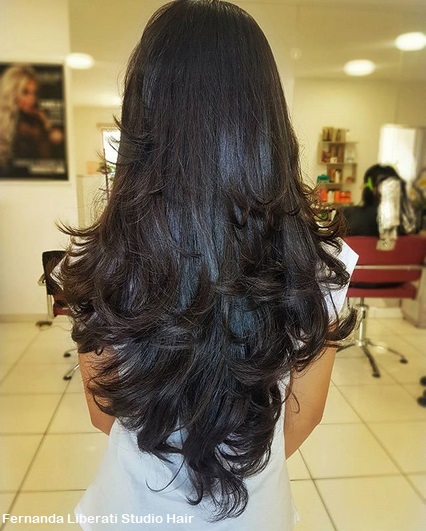
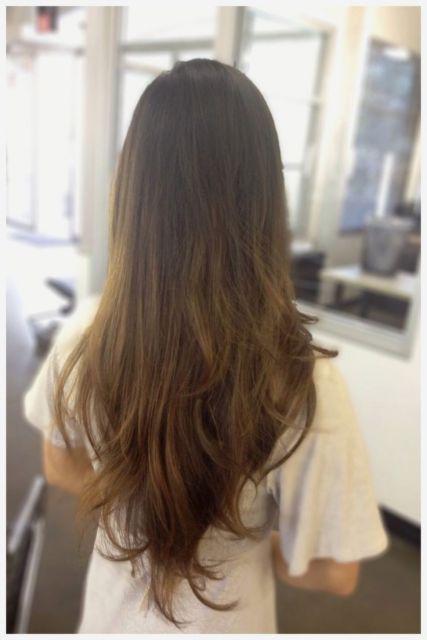
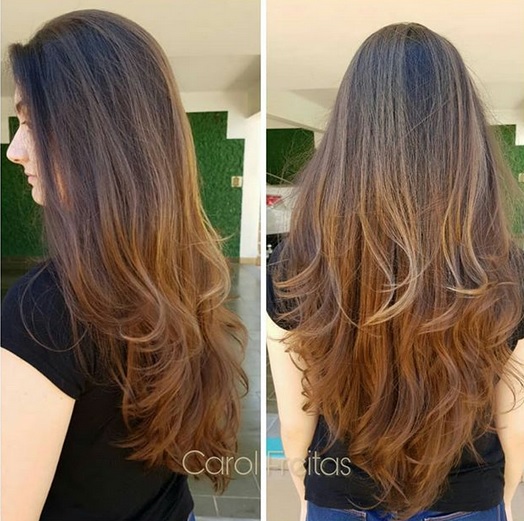
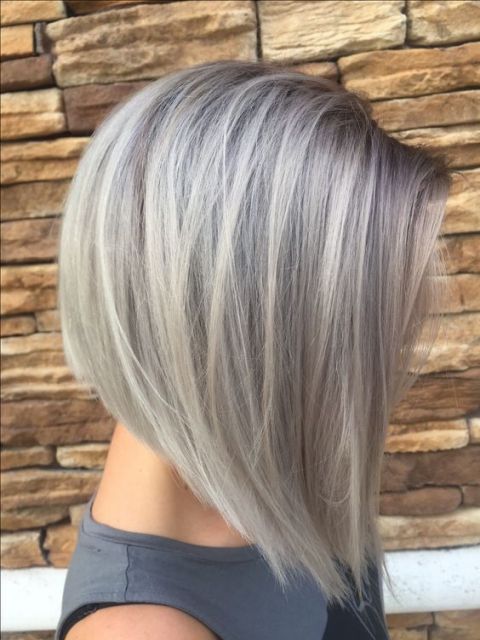
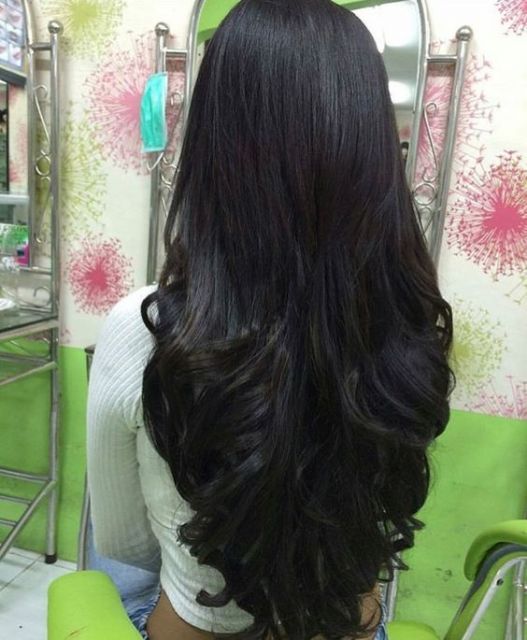
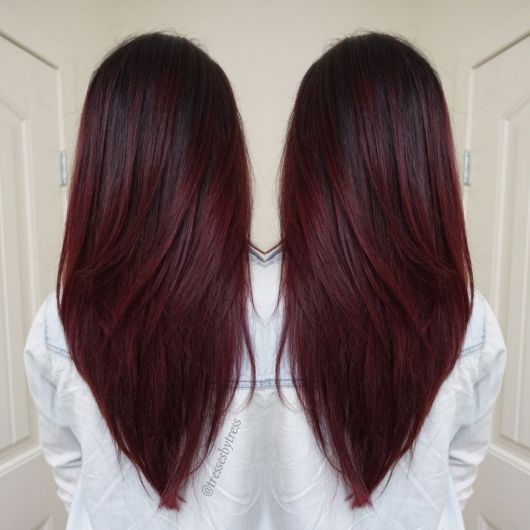
In long strands, the V cut is a great bet to remove the heavy air that the hair can pass through.
However, it is necessary to take some care with the cut with V-tips for long hair, because the V-tip should not be too sharp and thin, which could leave the look with a “tail” without volume in long hair.
The ideal for the long V cut is to make a uniform cut with a less pronounced V, leaving the back end more elongated, but without losing volume.
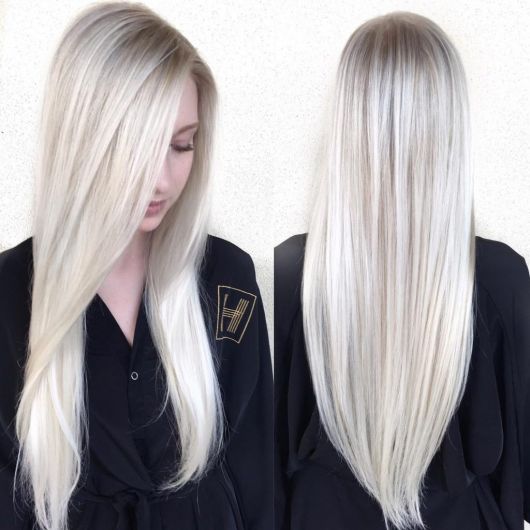
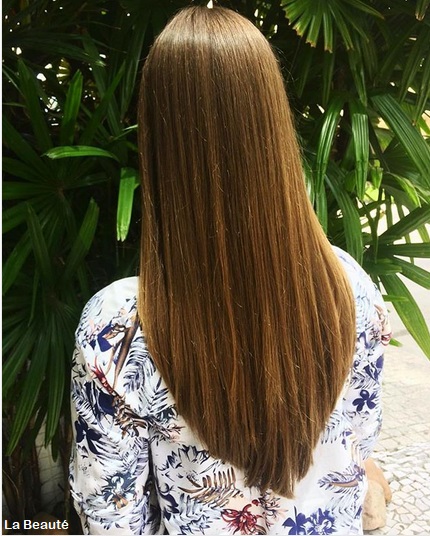
As an idea for a classic v-cut on long hair, this inspiration has the ideal look!
In the proposal, the long hair has a very uniform cut, following the idea of the V. And at the back, the longer end is not thin, since there is a good amount of hair on that end.
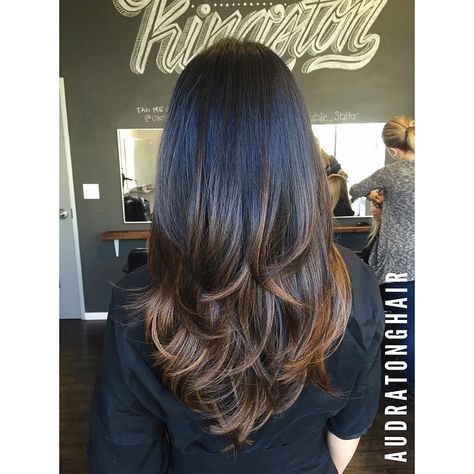
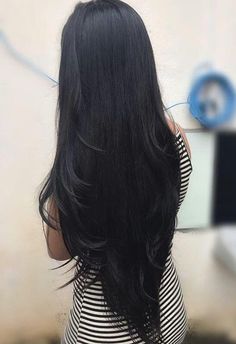
Another idea of a V-cut on long hair is this inspiration, where the V is even less pronounced.
The cut has a V shape, but at a very uniform level, where the tip marks the V, but without being too elongated, which could mark thinner ends.
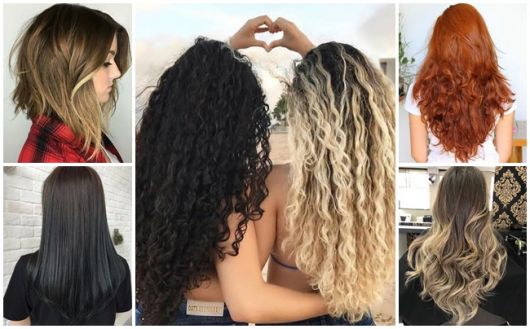
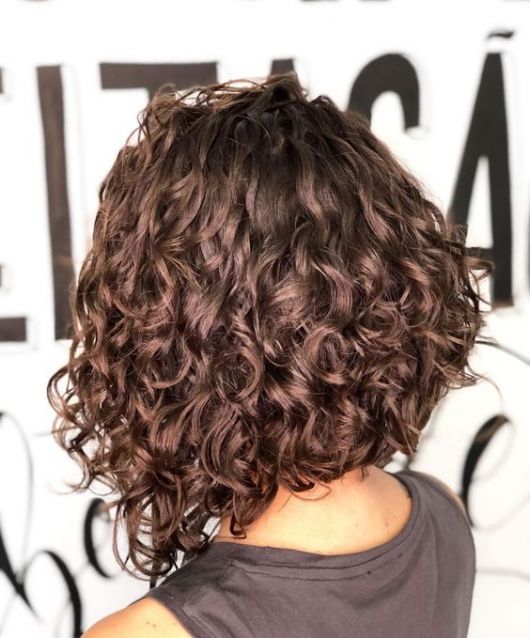
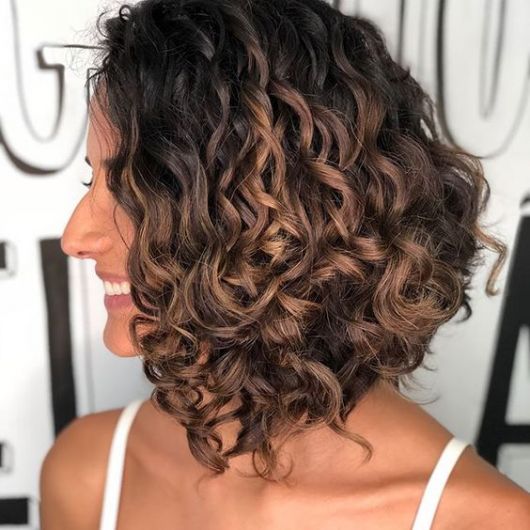
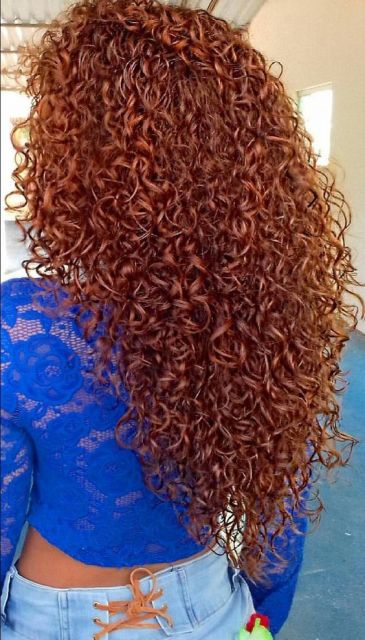
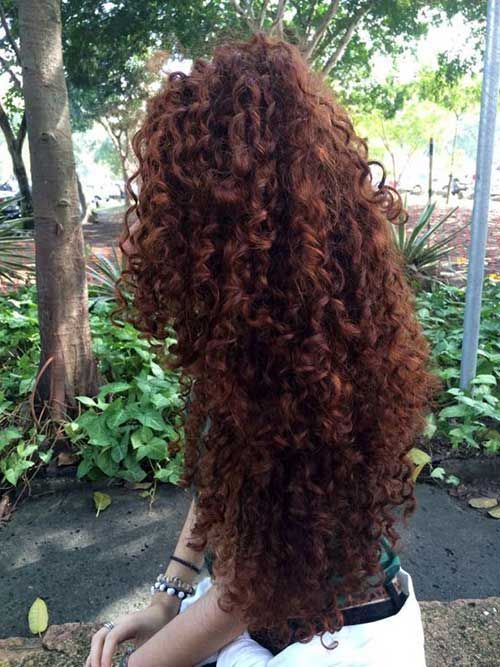
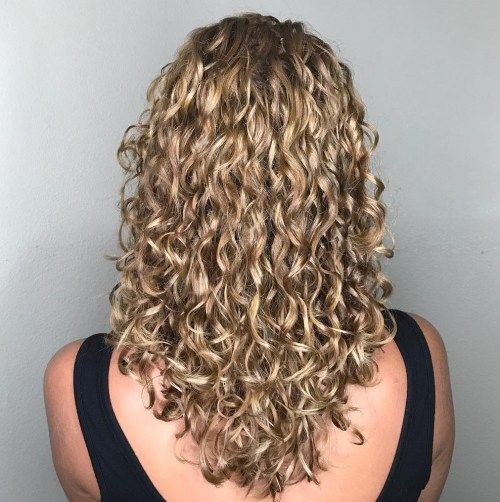
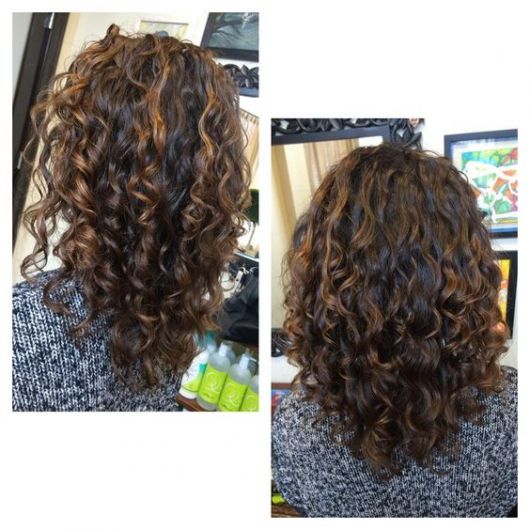
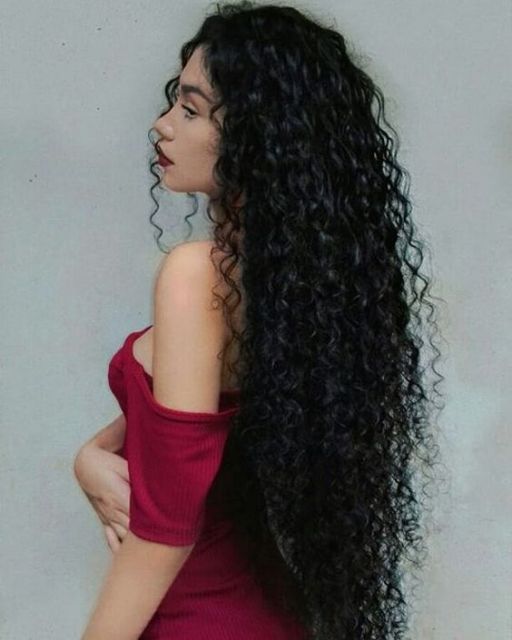
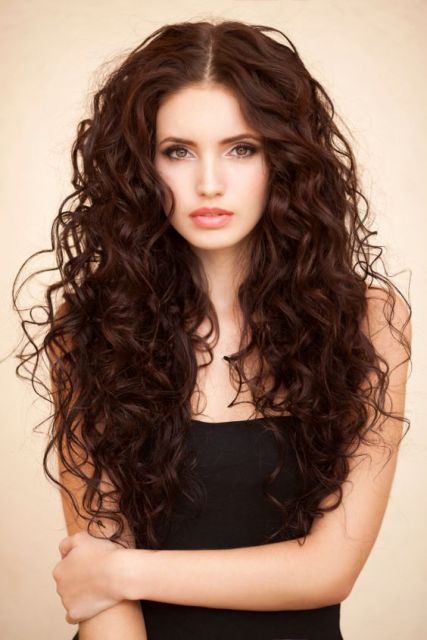
Curly hair
For those looking for a haircut for curly hair, the V-cut is a great bet to keep the curls and modernize the look.
This type of cut can be an advantage in controlling the volume of curly hair and also softening the look by leaving the front of the hair a little shorter.
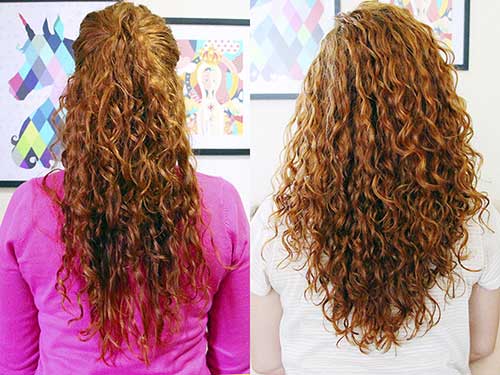
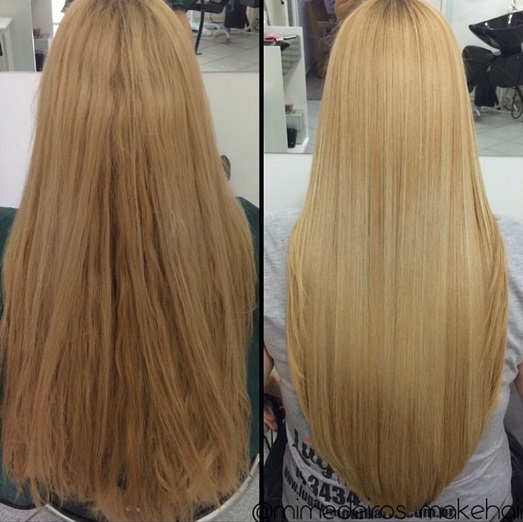
To inspire anyone looking for ideas for a curly haircut, the proposal here brings a before and after that shows the difference in choosing the right cut.
The bet for the cut in V brings the hair with a uniform cut and in a less marked V style.
The result of the cut is that the wires gain more lightness, in addition to removing the most dry ends.
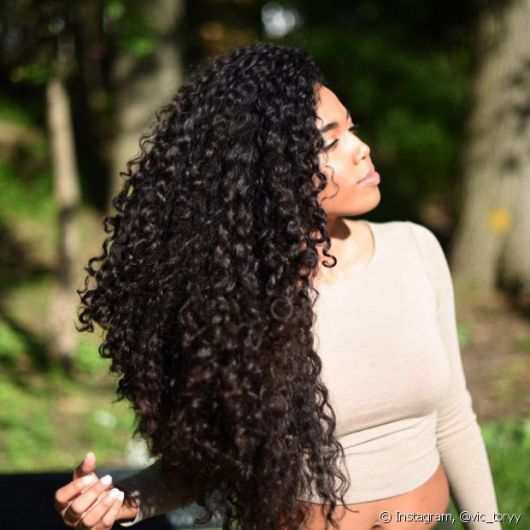
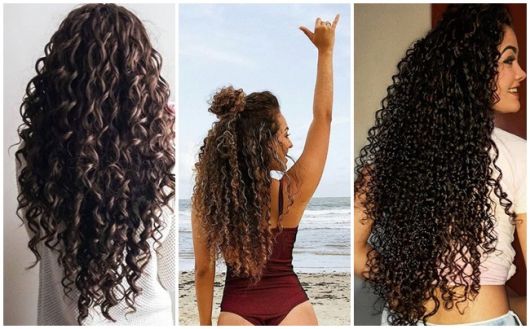
And for the long curly and voluminous hair, the cut is also quite functional, as shown in the proposal.
In inspiration, the long curly hair was cut in layers and with a V-tip, and this leaves the hair with adequate volume and lighter, since the front part is shorter, leaving the face freer.
How to Make a V Cut: Step by Step
If the idea is to adopt the new V-cut look, we made a step-by-step tutorial to make a simple and functional cut.
And if you have a little more skill with scissors, you can even take advantage of the step by step to make contact on yourself.
- Wash your hair and with the strands still wet, divide them in the middle from the front to the back of the neck, leaving each half on one side;
- Start by pulling your bangs forward and decide on the length of the cut. If the idea is to cut a fringe, a good tip is to bet on a diagonal cut, which makes the long fringe lighter;
- With the bangs already cut, divide the hair again;
- Choose one of the sides to start cutting;
- On the chosen side, take a lock next to the fringe, comb it and decide the height of the cut;
- With two parallel fingers, hold the tip of the lock diagonally downwards (as if the finger were going down);
- Cut the ends following the markings made by the fingers, and in this way you create the guide strand, which will guide the length of the rest of the hair;
- Take a new strand next to the guide strand, and again make the marking movement with your fingers following the height of the longest end of the guide strand, and cut as well;
- Take one strand followed by the other and do the same procedure until you finish this side of the hair;
- At the end of that side; take that half and check if any ends are too uneven, and if so, cut diagonally with the guidance of the fingers;
- After fixing all the uneven ends on that side, it's time to move on to the other half of the hair;
- On the other side, do the same procedure, and pay attention if, during the marking of the cut, the fingers form the idea of the “V” upside down;
- Do the whole procedure on that other side following the same height in length and the cut is finished.
And if you want to better understand the step by step, we separate a video that shows the whole step by step, so you can observe and better understand the movement of the hands to mark the cut.
Now all you have to do is take advantage of the inspirations and give your look and locks a makeover!


![Red Front Mecha: +50 Wonderful Ideas!【[2022]】](/images/posts/b1d51f076658647f85c4ce4fae09de90-0.jpg)